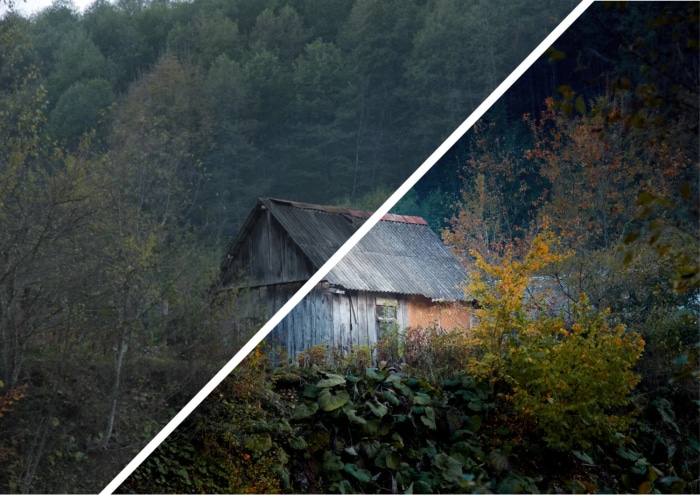
How to turn a boring photo into a masterpiece: simple and effective editing for all
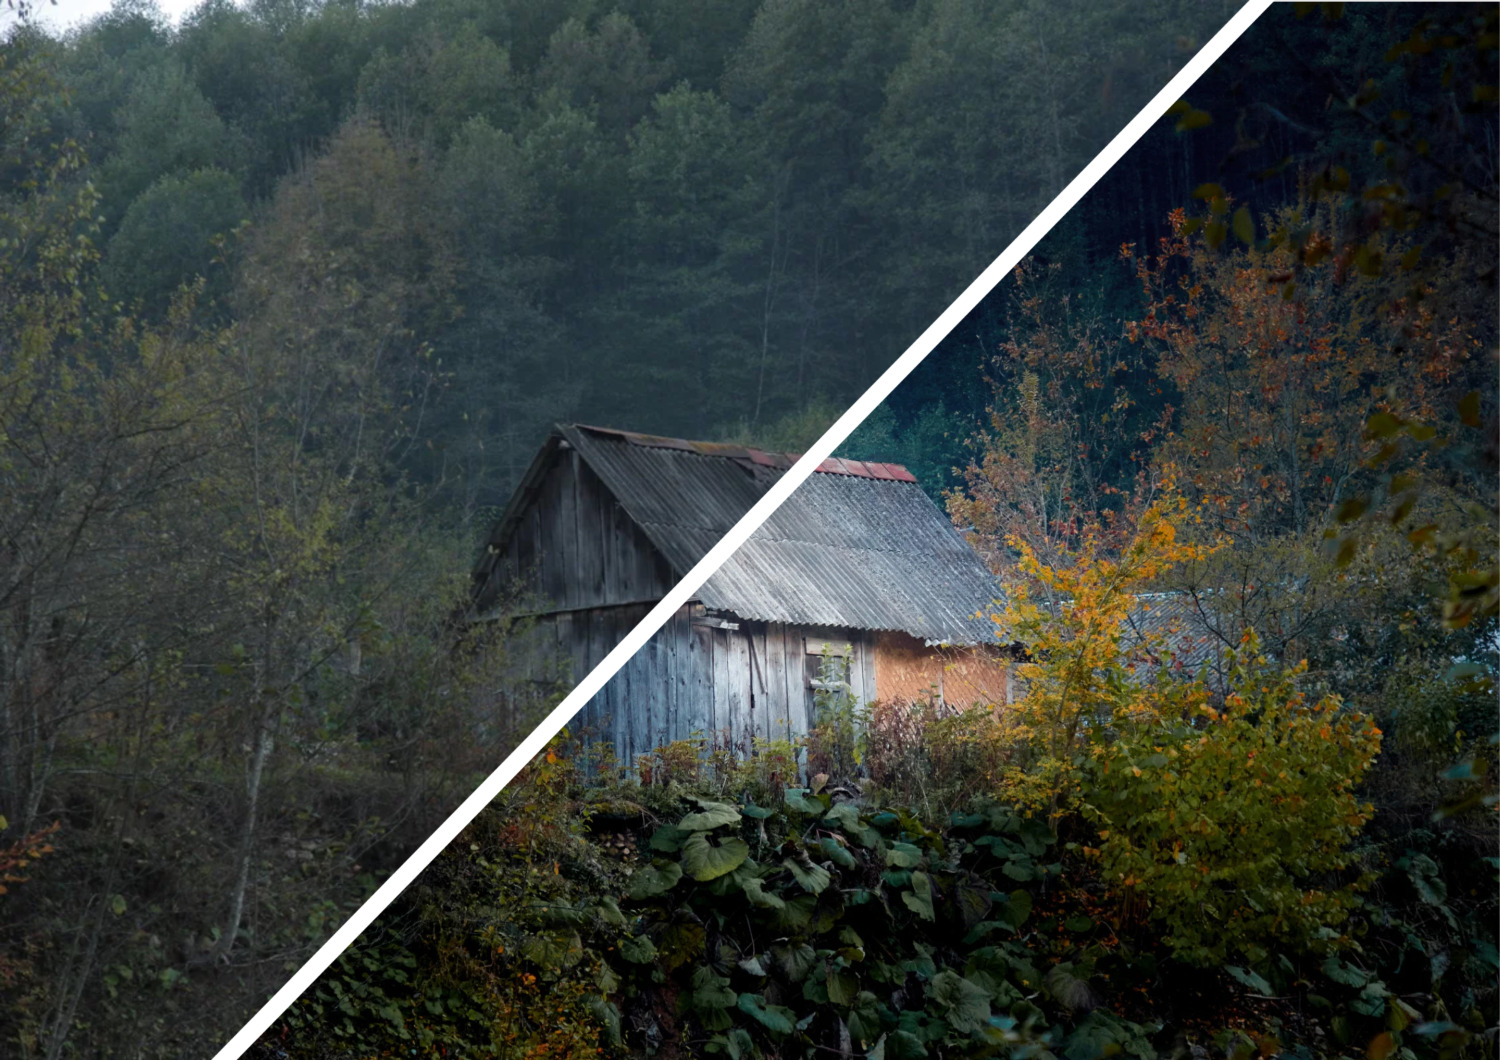
Have you ever been in a situation where you see something interesting, get out your phone or a camera, take a shot and… nothing good comes out of it… I’m sure you have! It has happened to everyone, but not everyone thought about why it happened and, most importantly, how to remedy this problem.
In this post I’ll tell you why these things happen and show you an example of landscape editing. You will get a clear idea of what you can do with editing alone when the original picture isn’t very attractive.
So, let’s hop on it! Here’s the picture for today:
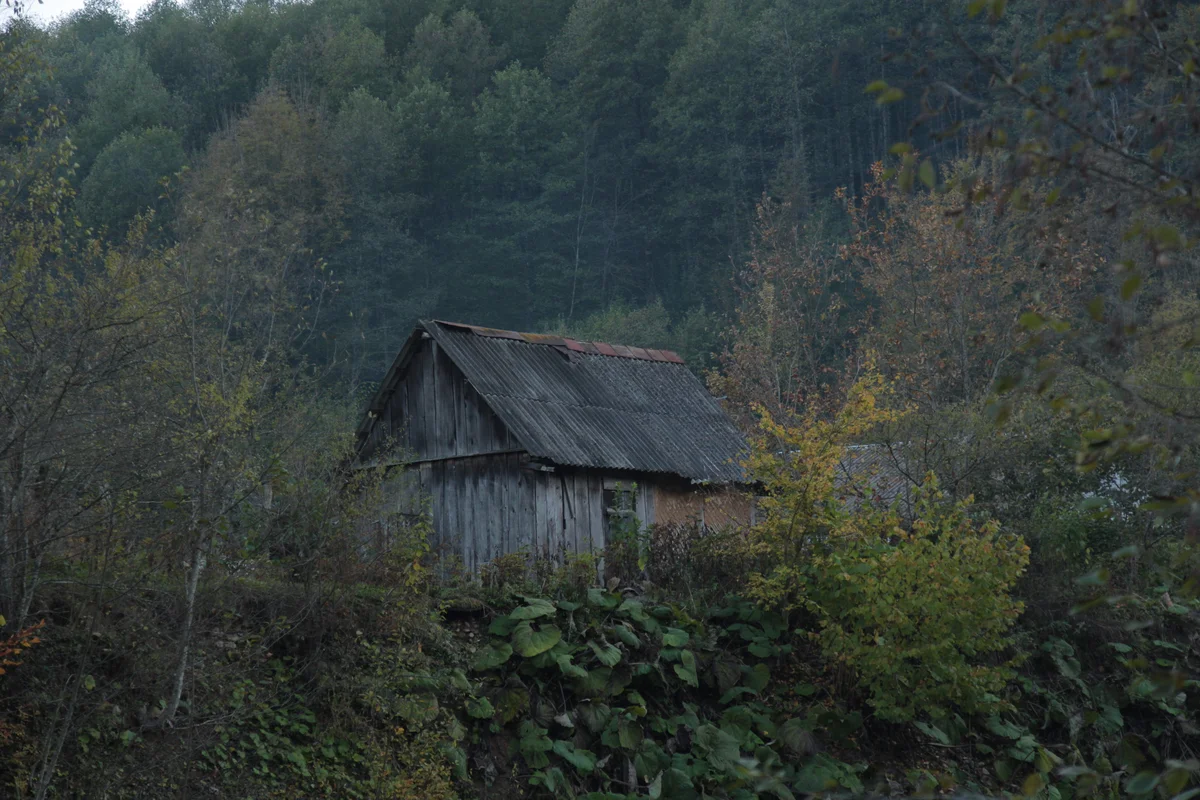
As you can see, the photo looks flat, unremarkable, and absolutely dull. In reality, however, this hut against the mountains and fir trees looked very awesome. Here is where we need to point out one crucial human feature. We have two eyes. They make it easier for us to see volume and depth, as well as determine the distance to an object. As such, reality may look outstanding, but a photo may just be a fiasco.
Cameras and phones only have one eye – their lens, and that’s why pictures have less volume compared to what human eyes see. It’s important to keep this fact in mind when taking pictures. While editing, you can manually add volume to a picture using several simple tricks that I’ll tell you about right now.
So, let’s work with a few basic instruments that you can find in any photo editor. I prefer working with Lightroom Mobile, but it’s essentially insignificant what software you use to edit your pictures. What’s important is having the necessary tools. These tools are present in almost any editor, especially if you use Lightroom on PC or Capture One.
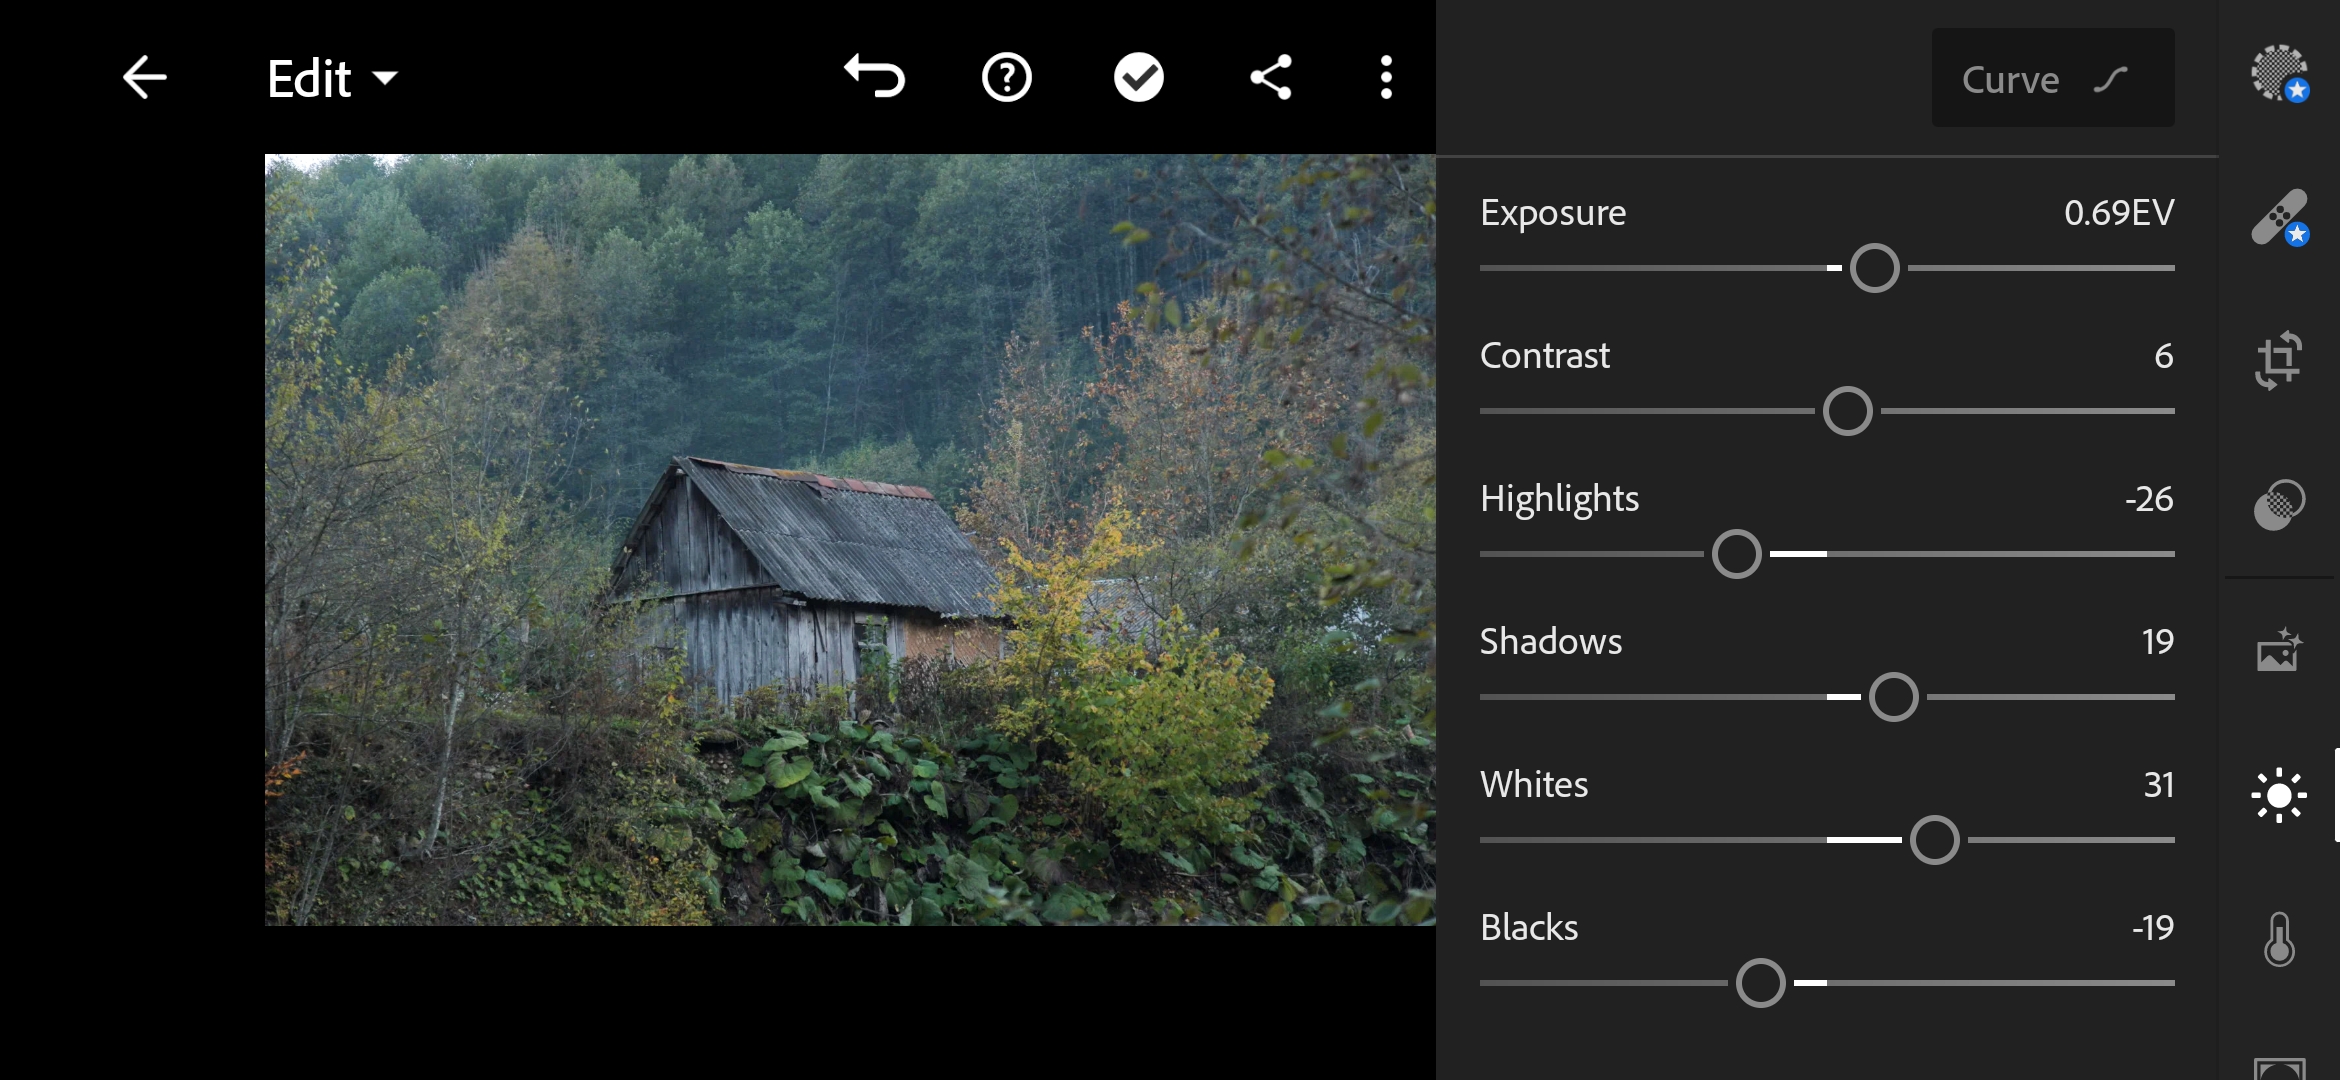
The adjustments that you can see in the photo above are individual for every photo. However, I’ll still explain briefly why I moved all these sliders. Light areas in the negative are to remove excessive light just a bit. Black in the negative is to add contrast to the photo. Shadows in the positive are to light up some shaded areas, the ones that turned darker after the black was honed down. White in the positive is to increase the contrast in the photo.
Next up is working with colors. Scroll through each color to see what changes were done in each color channel.
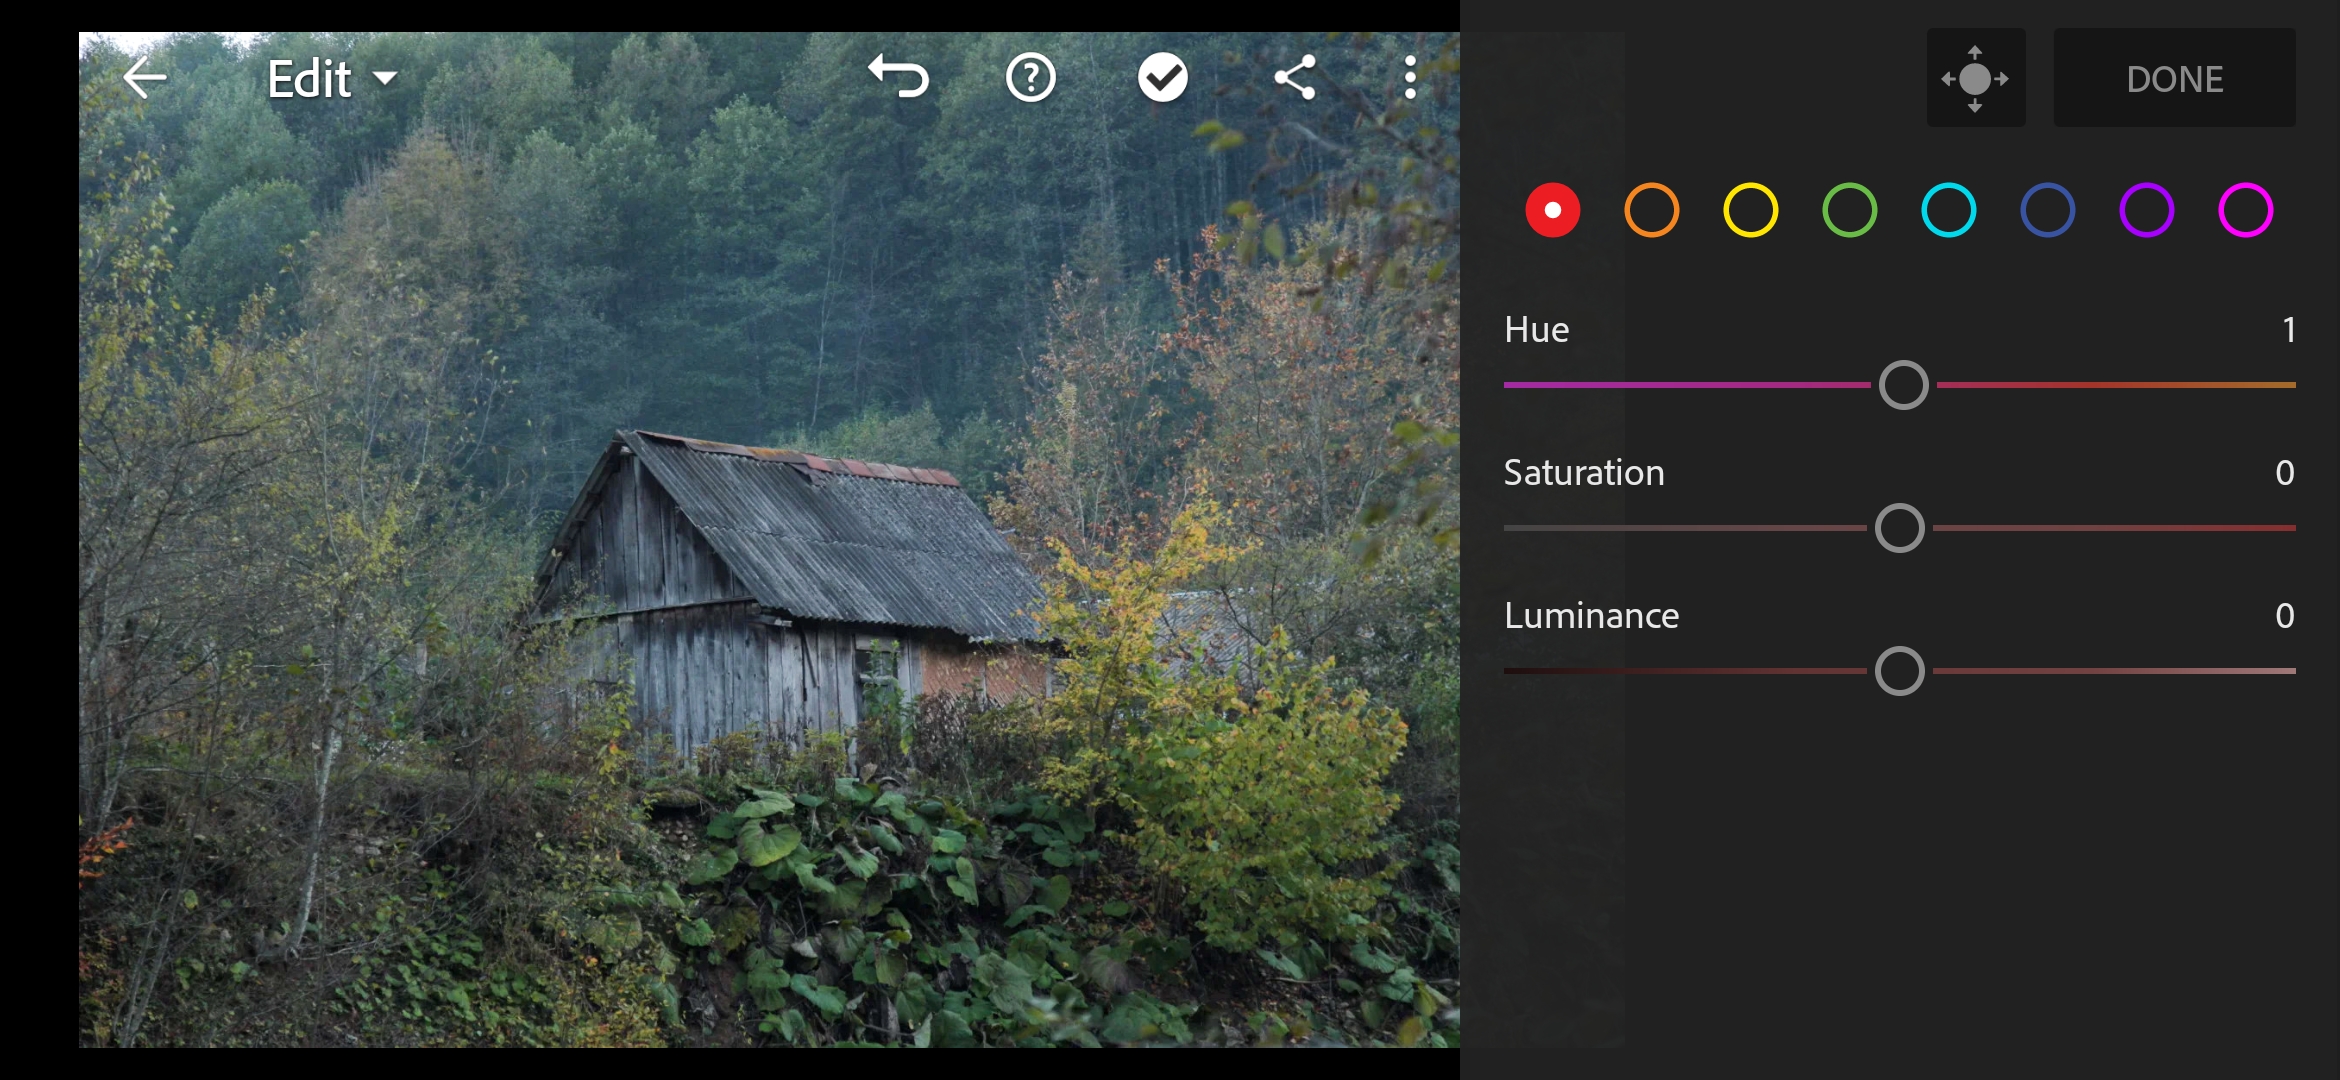
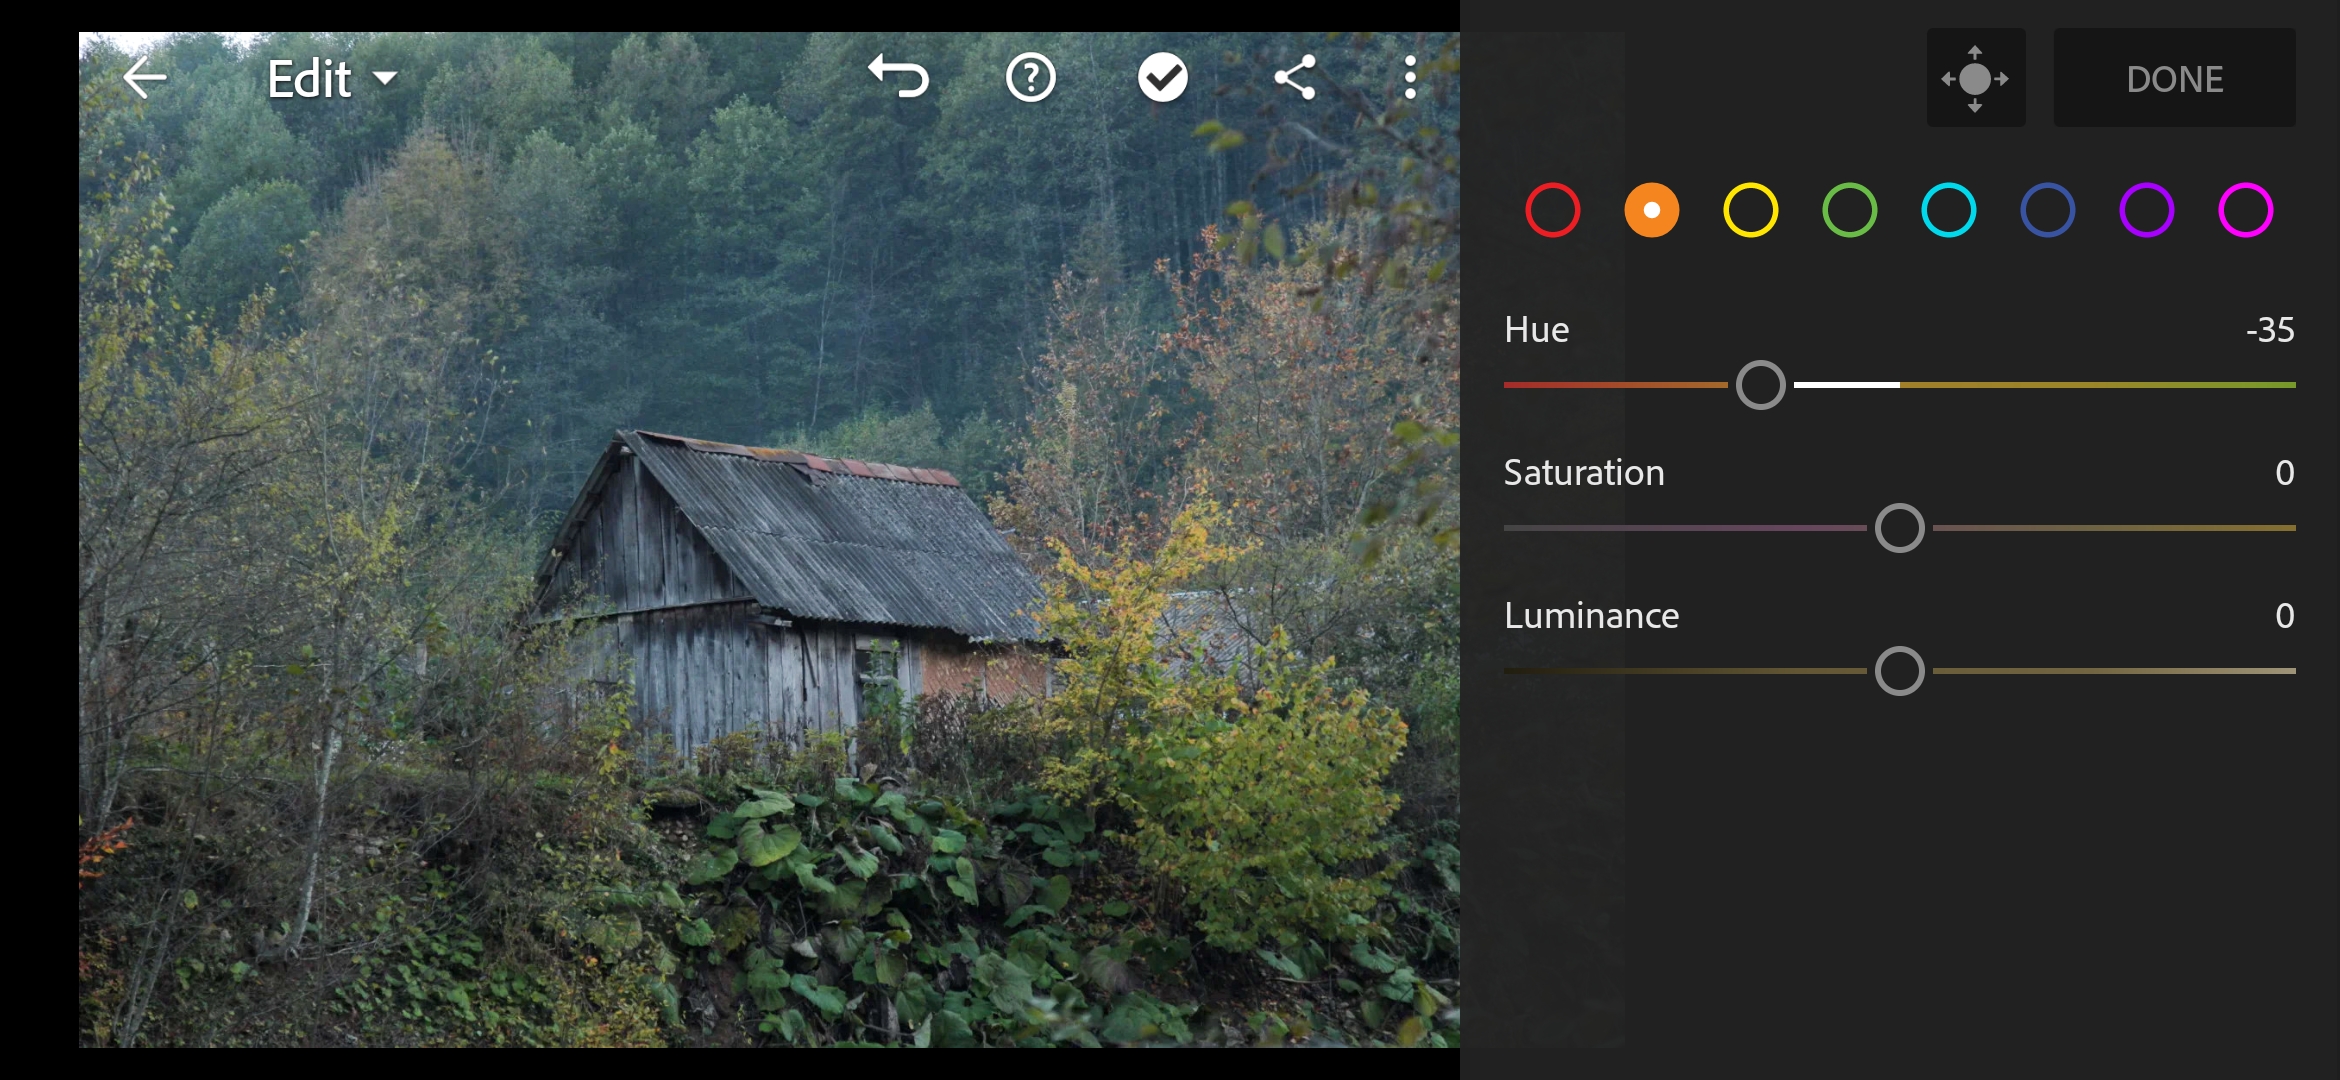
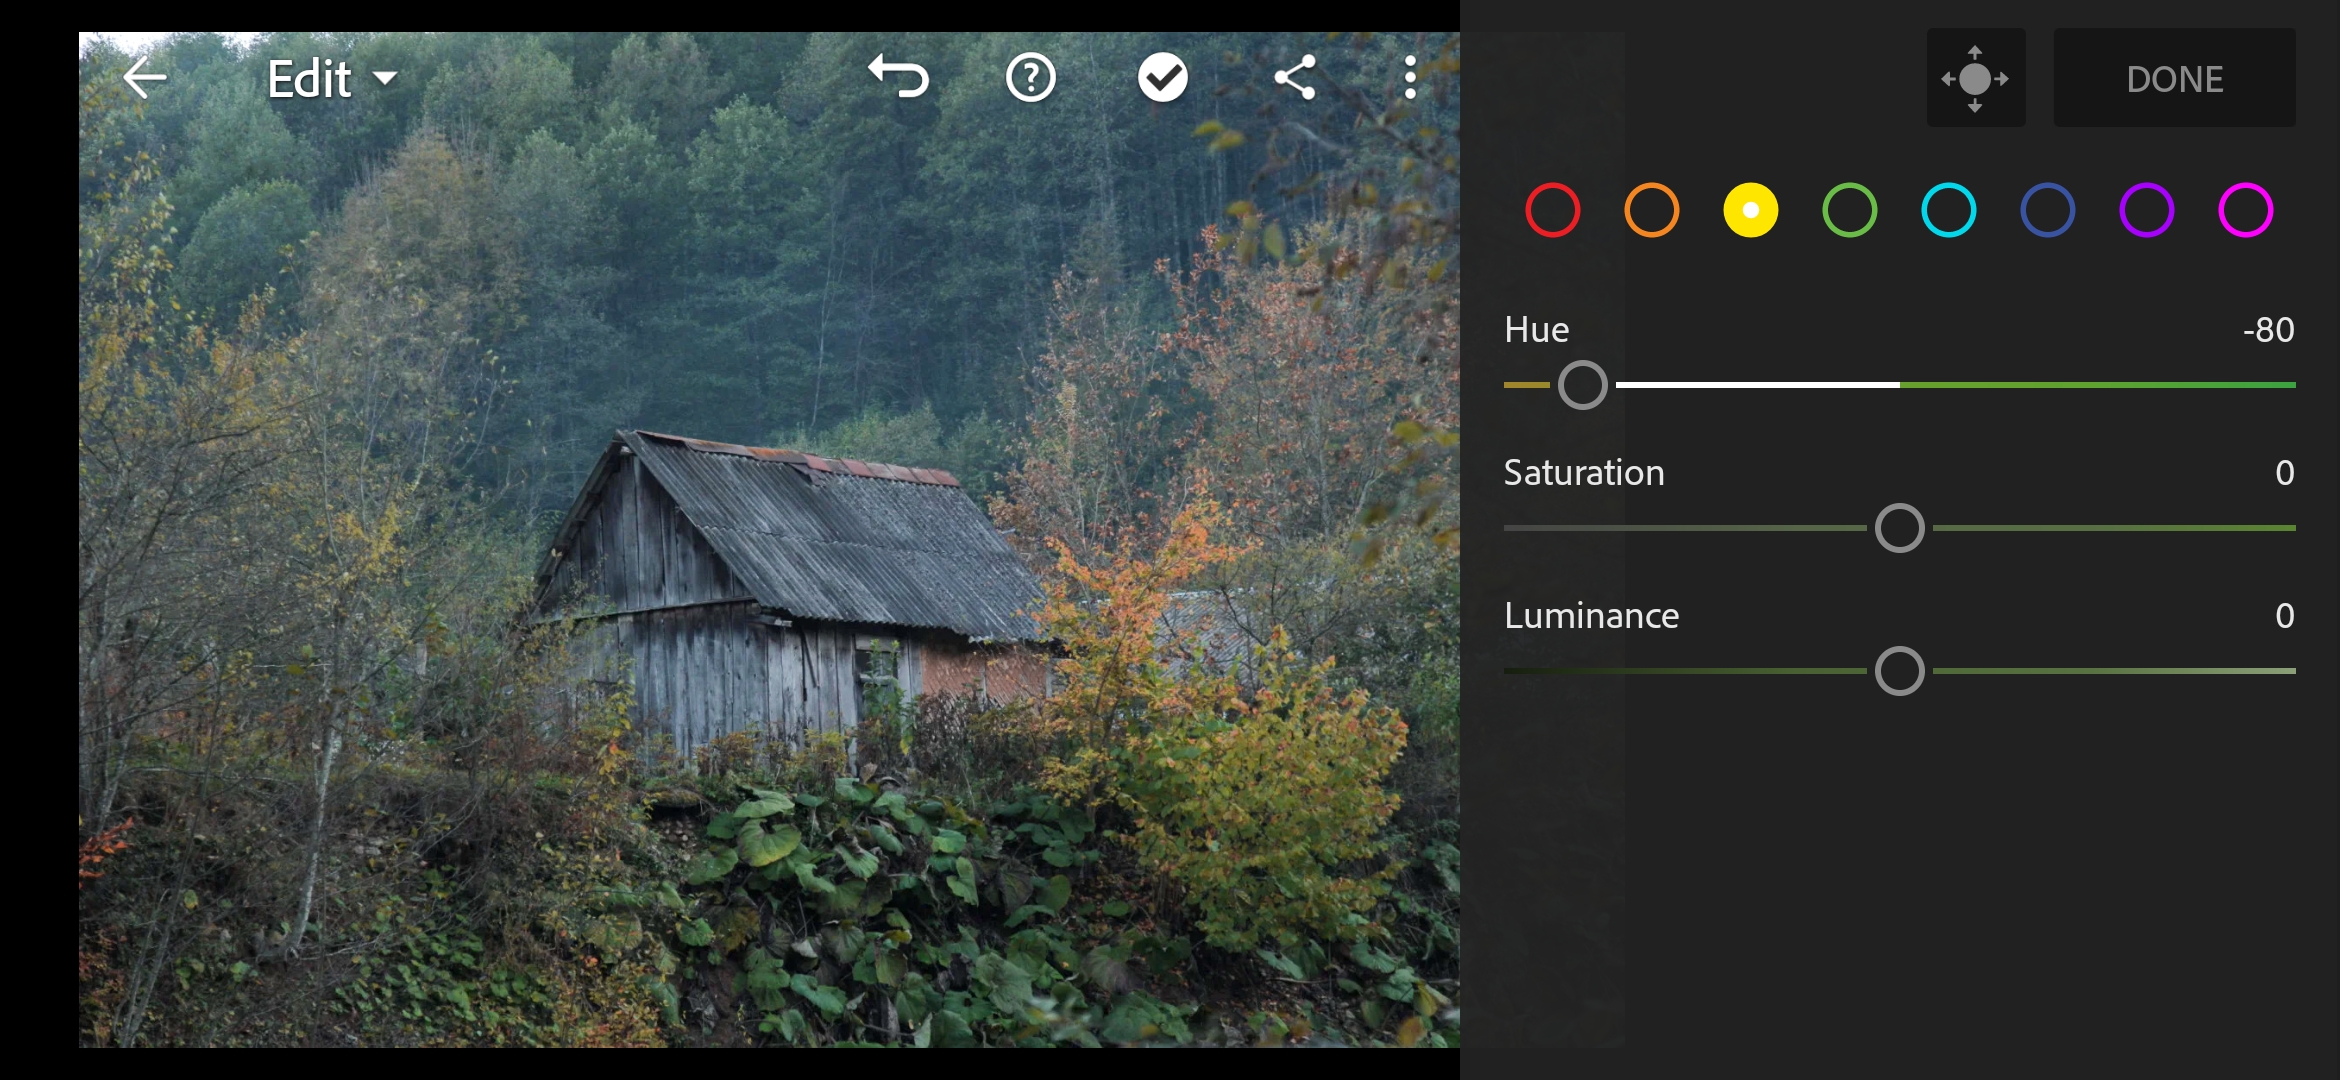
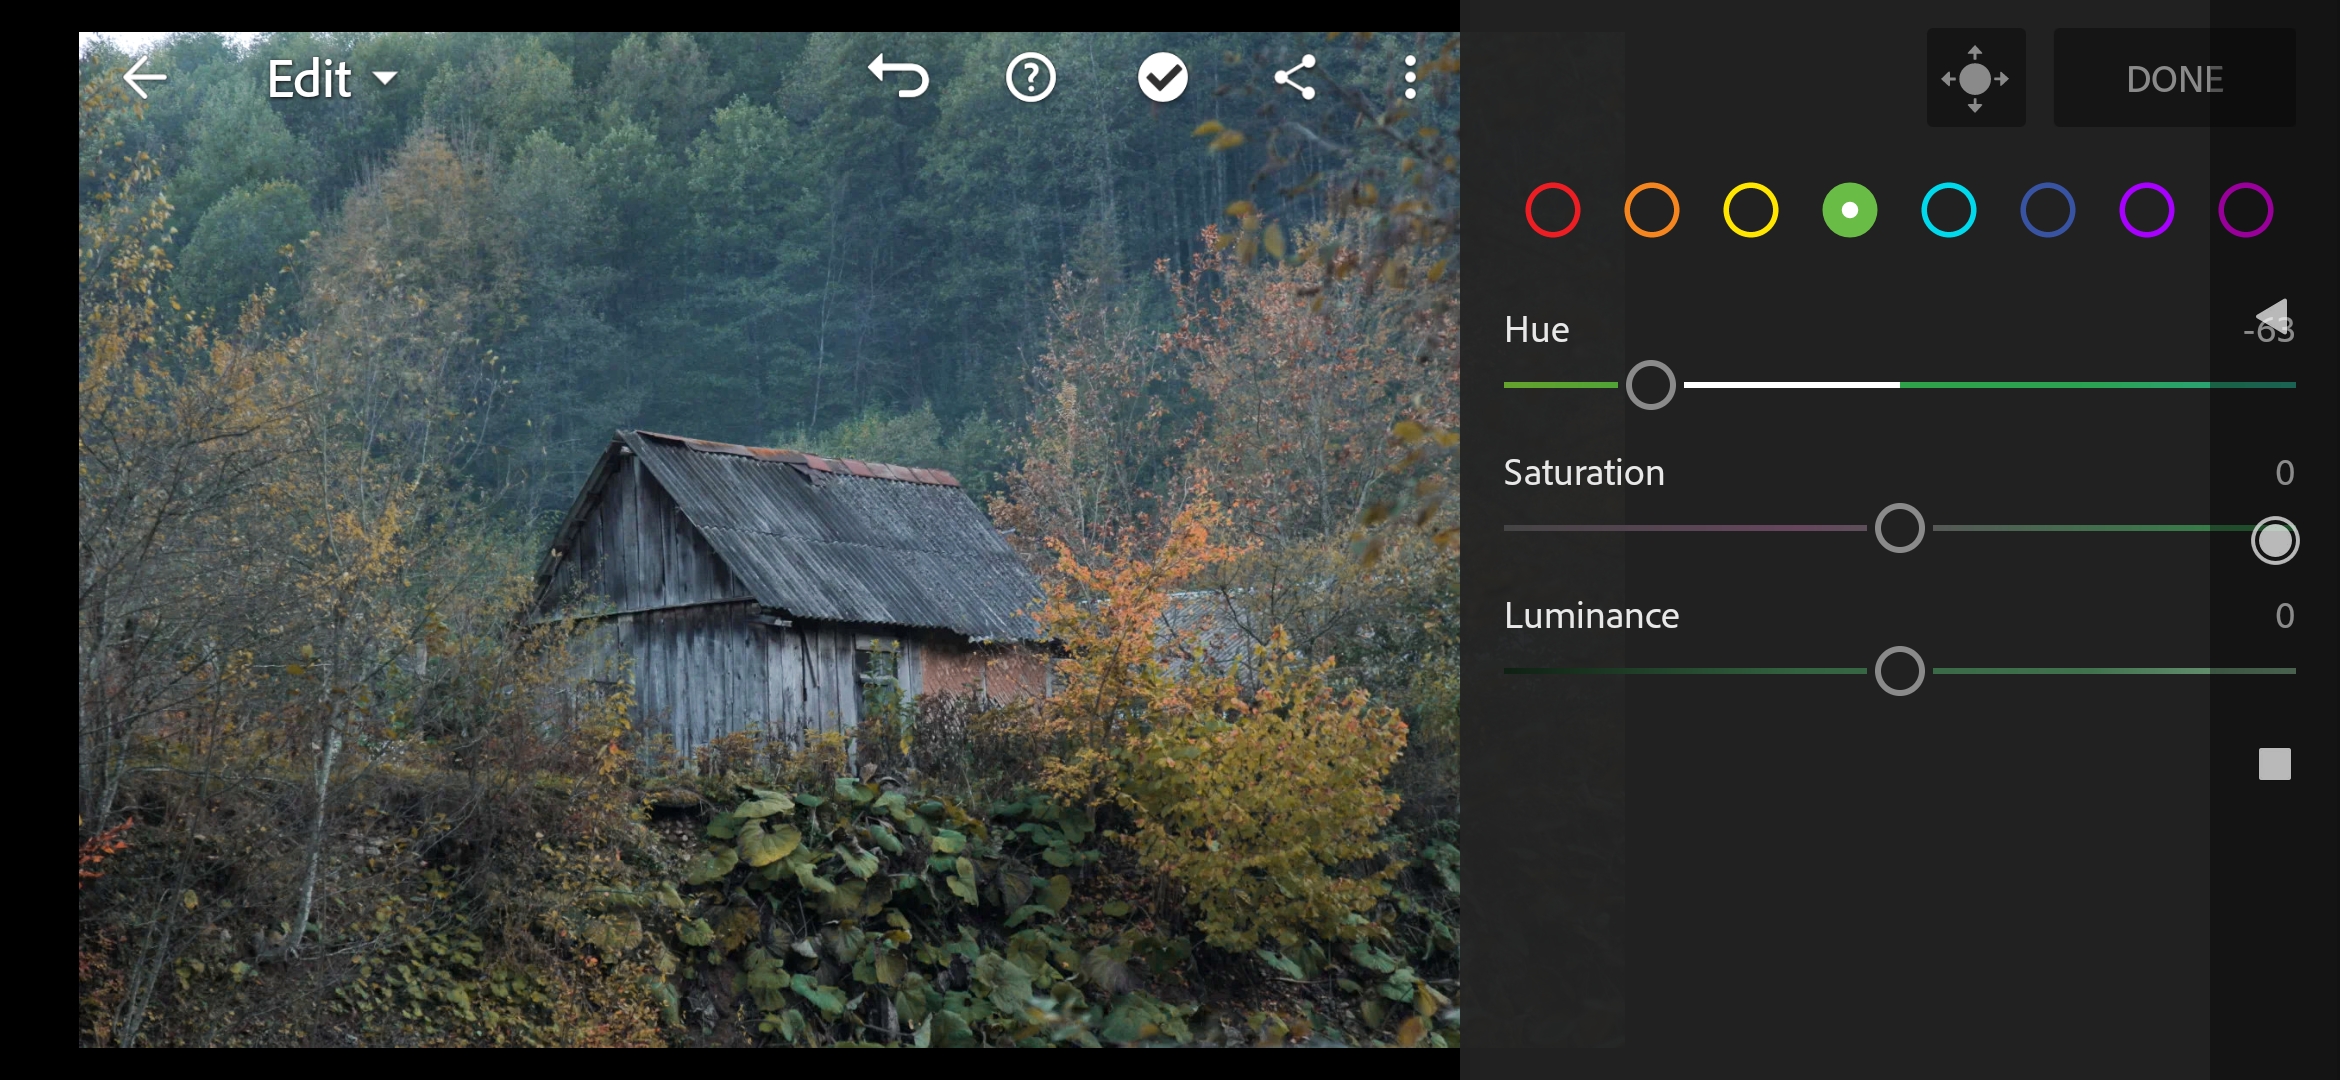
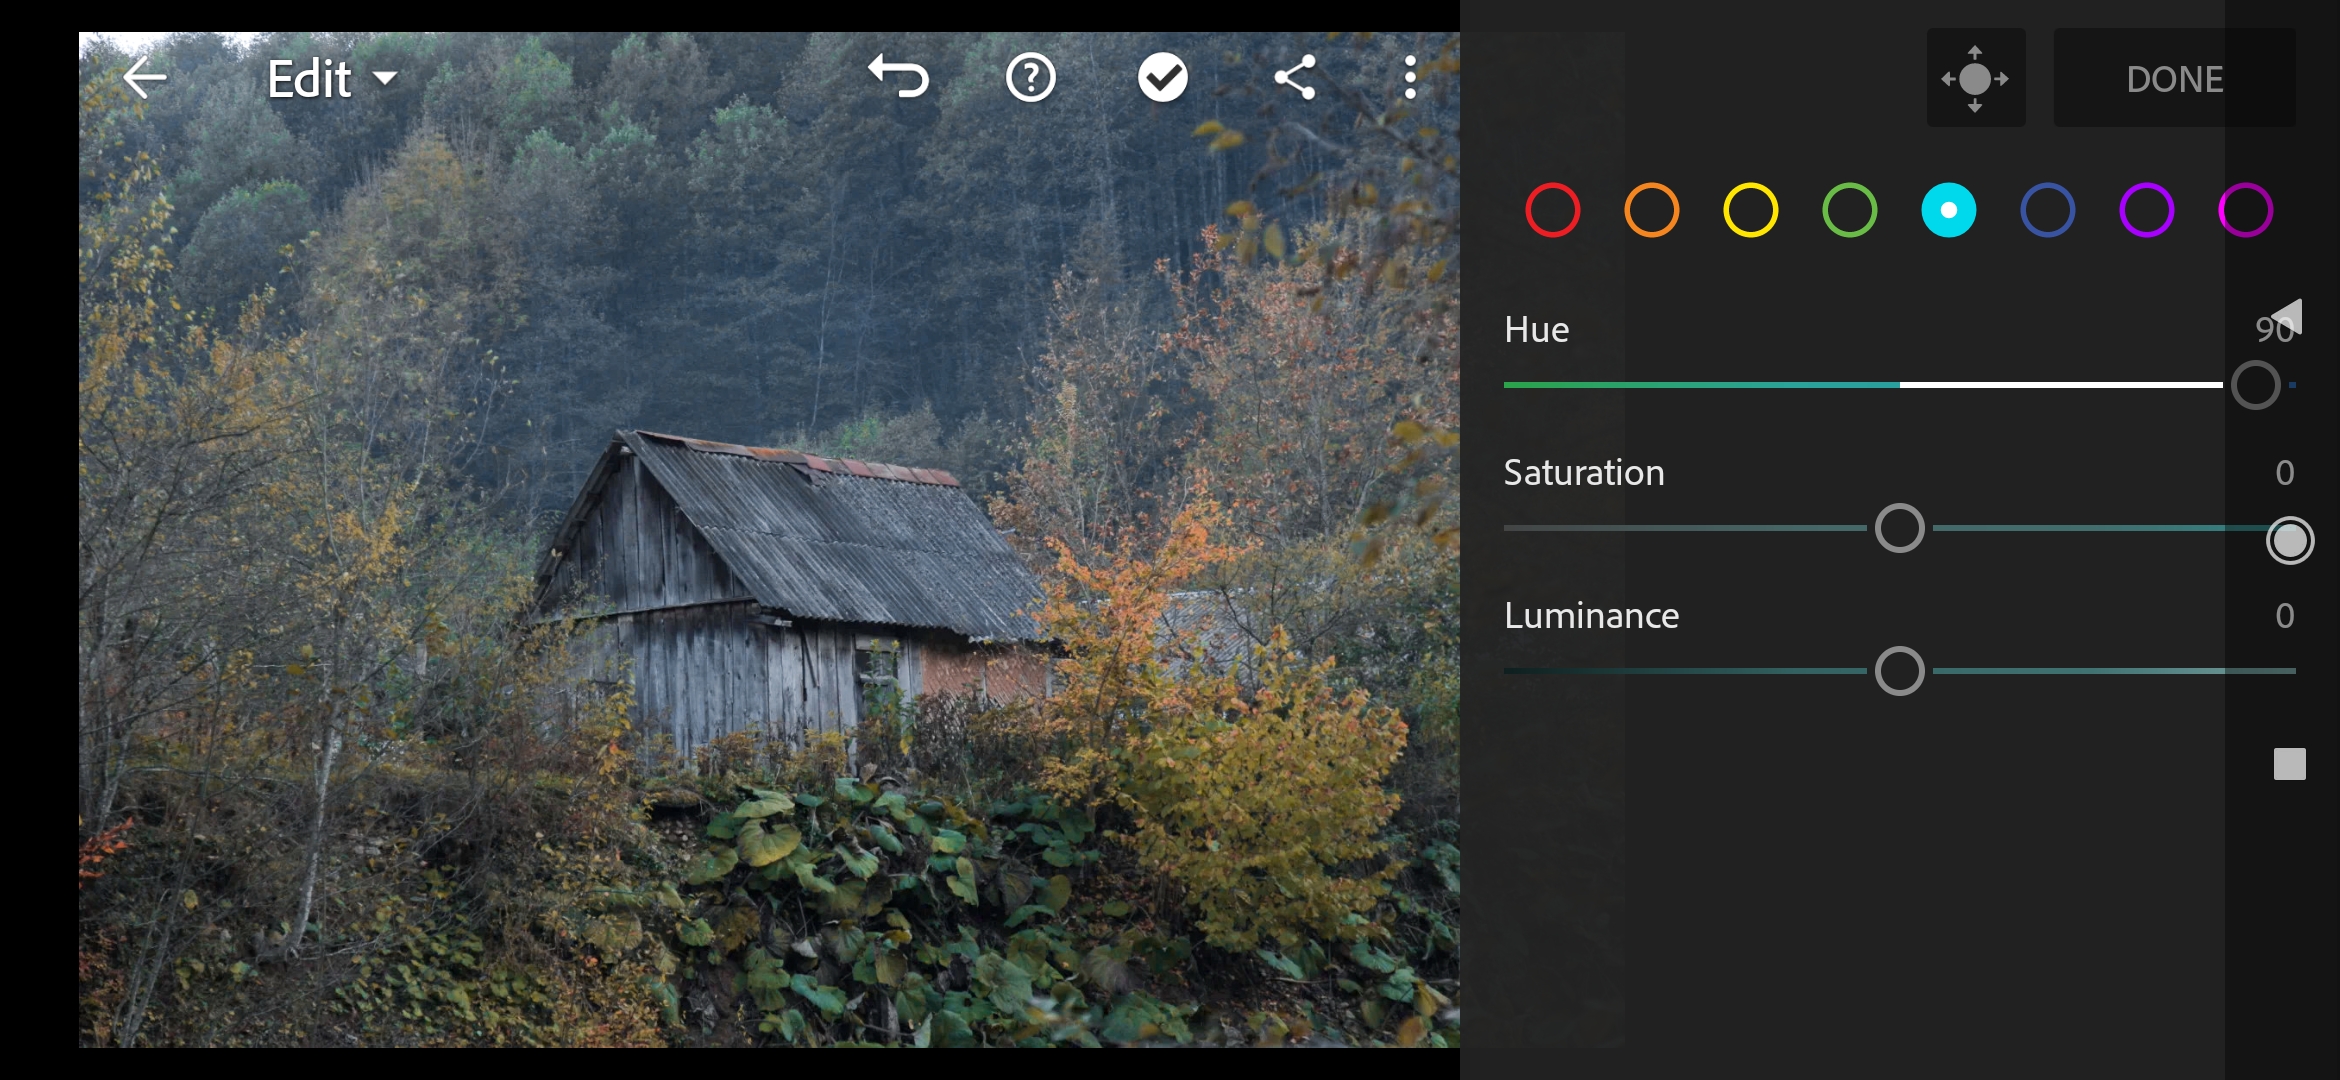
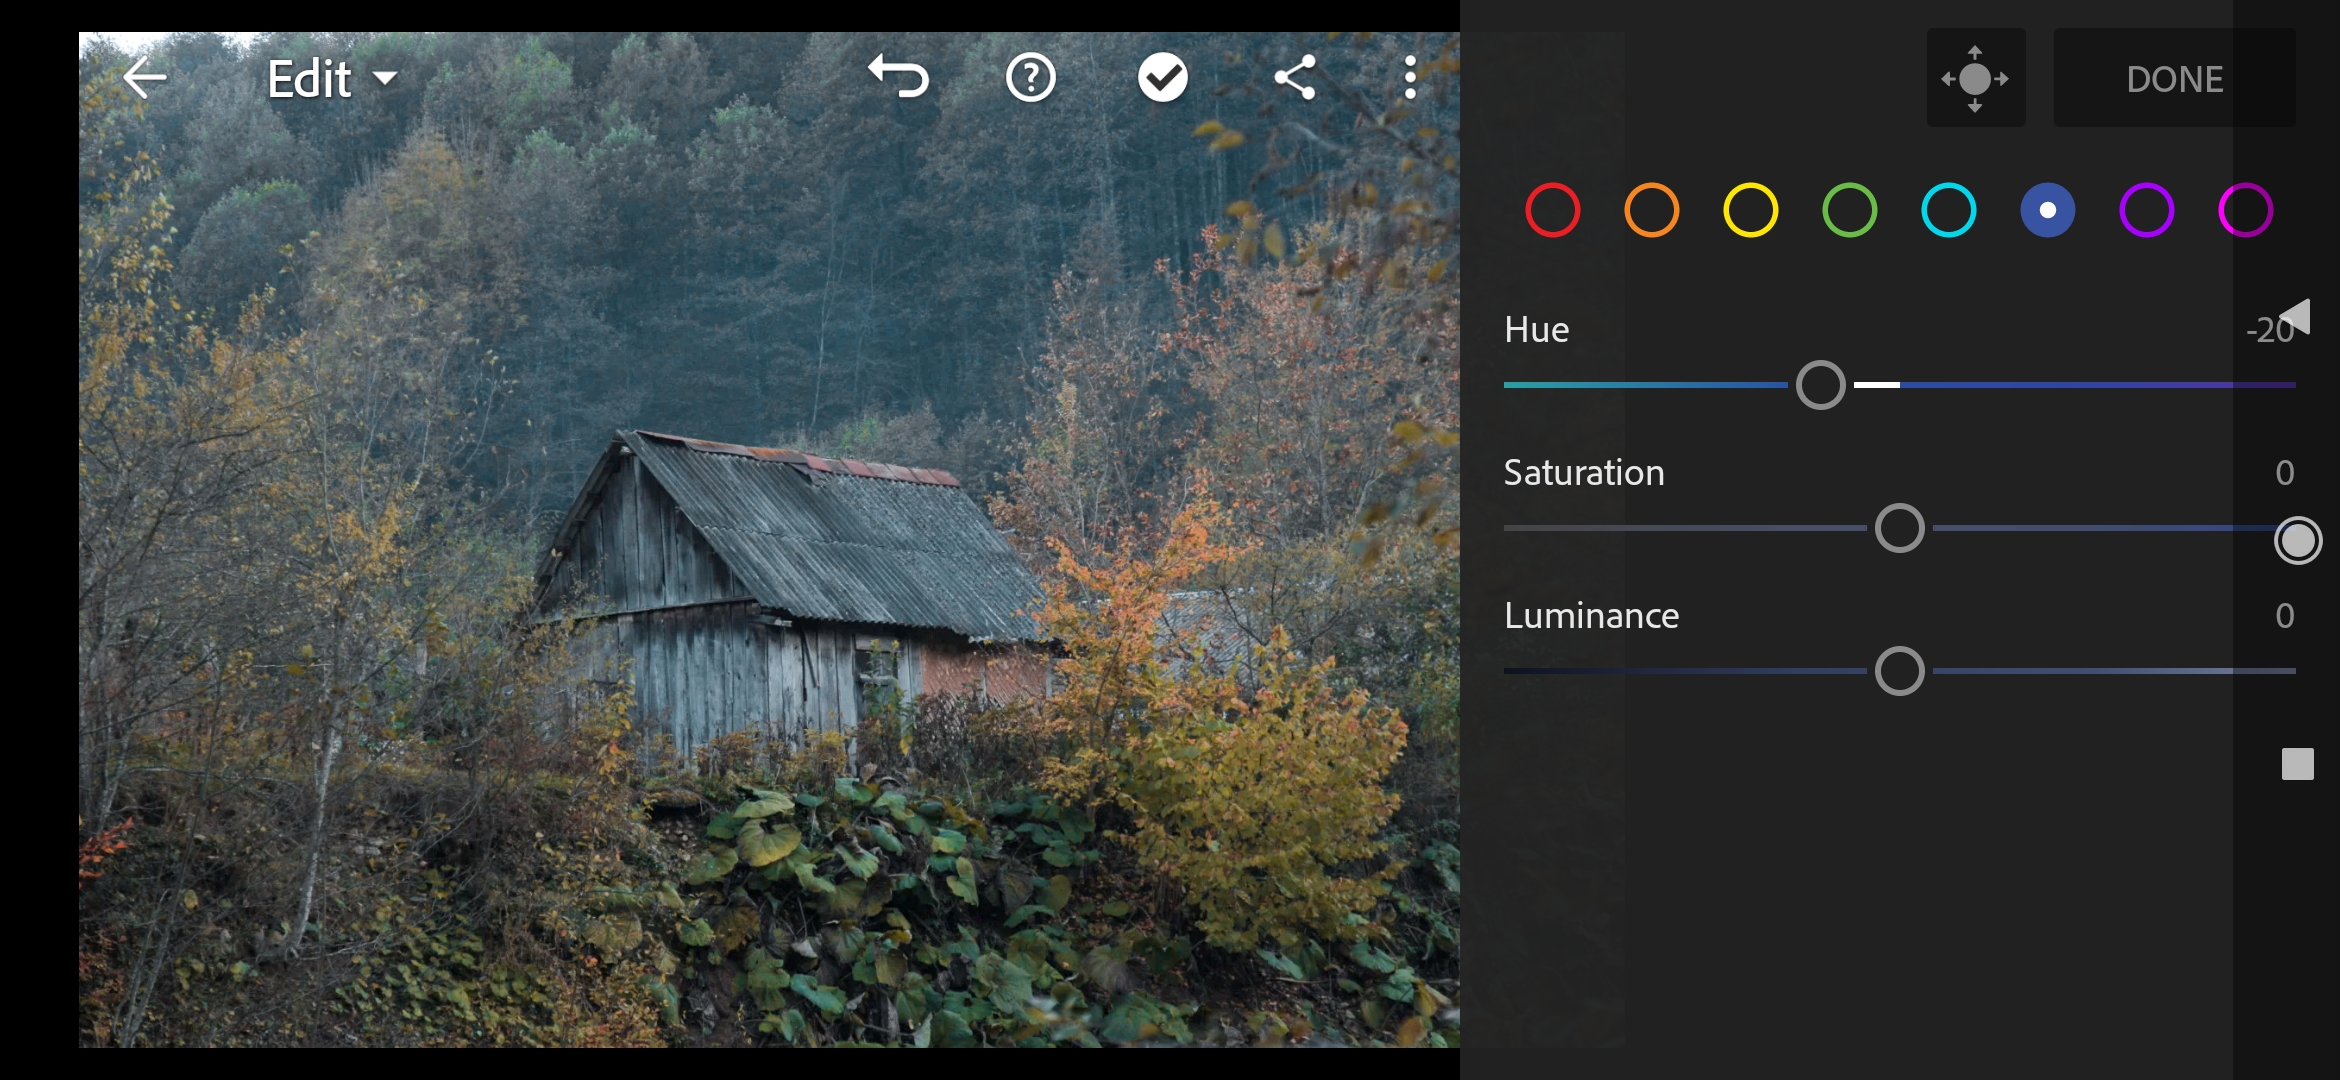
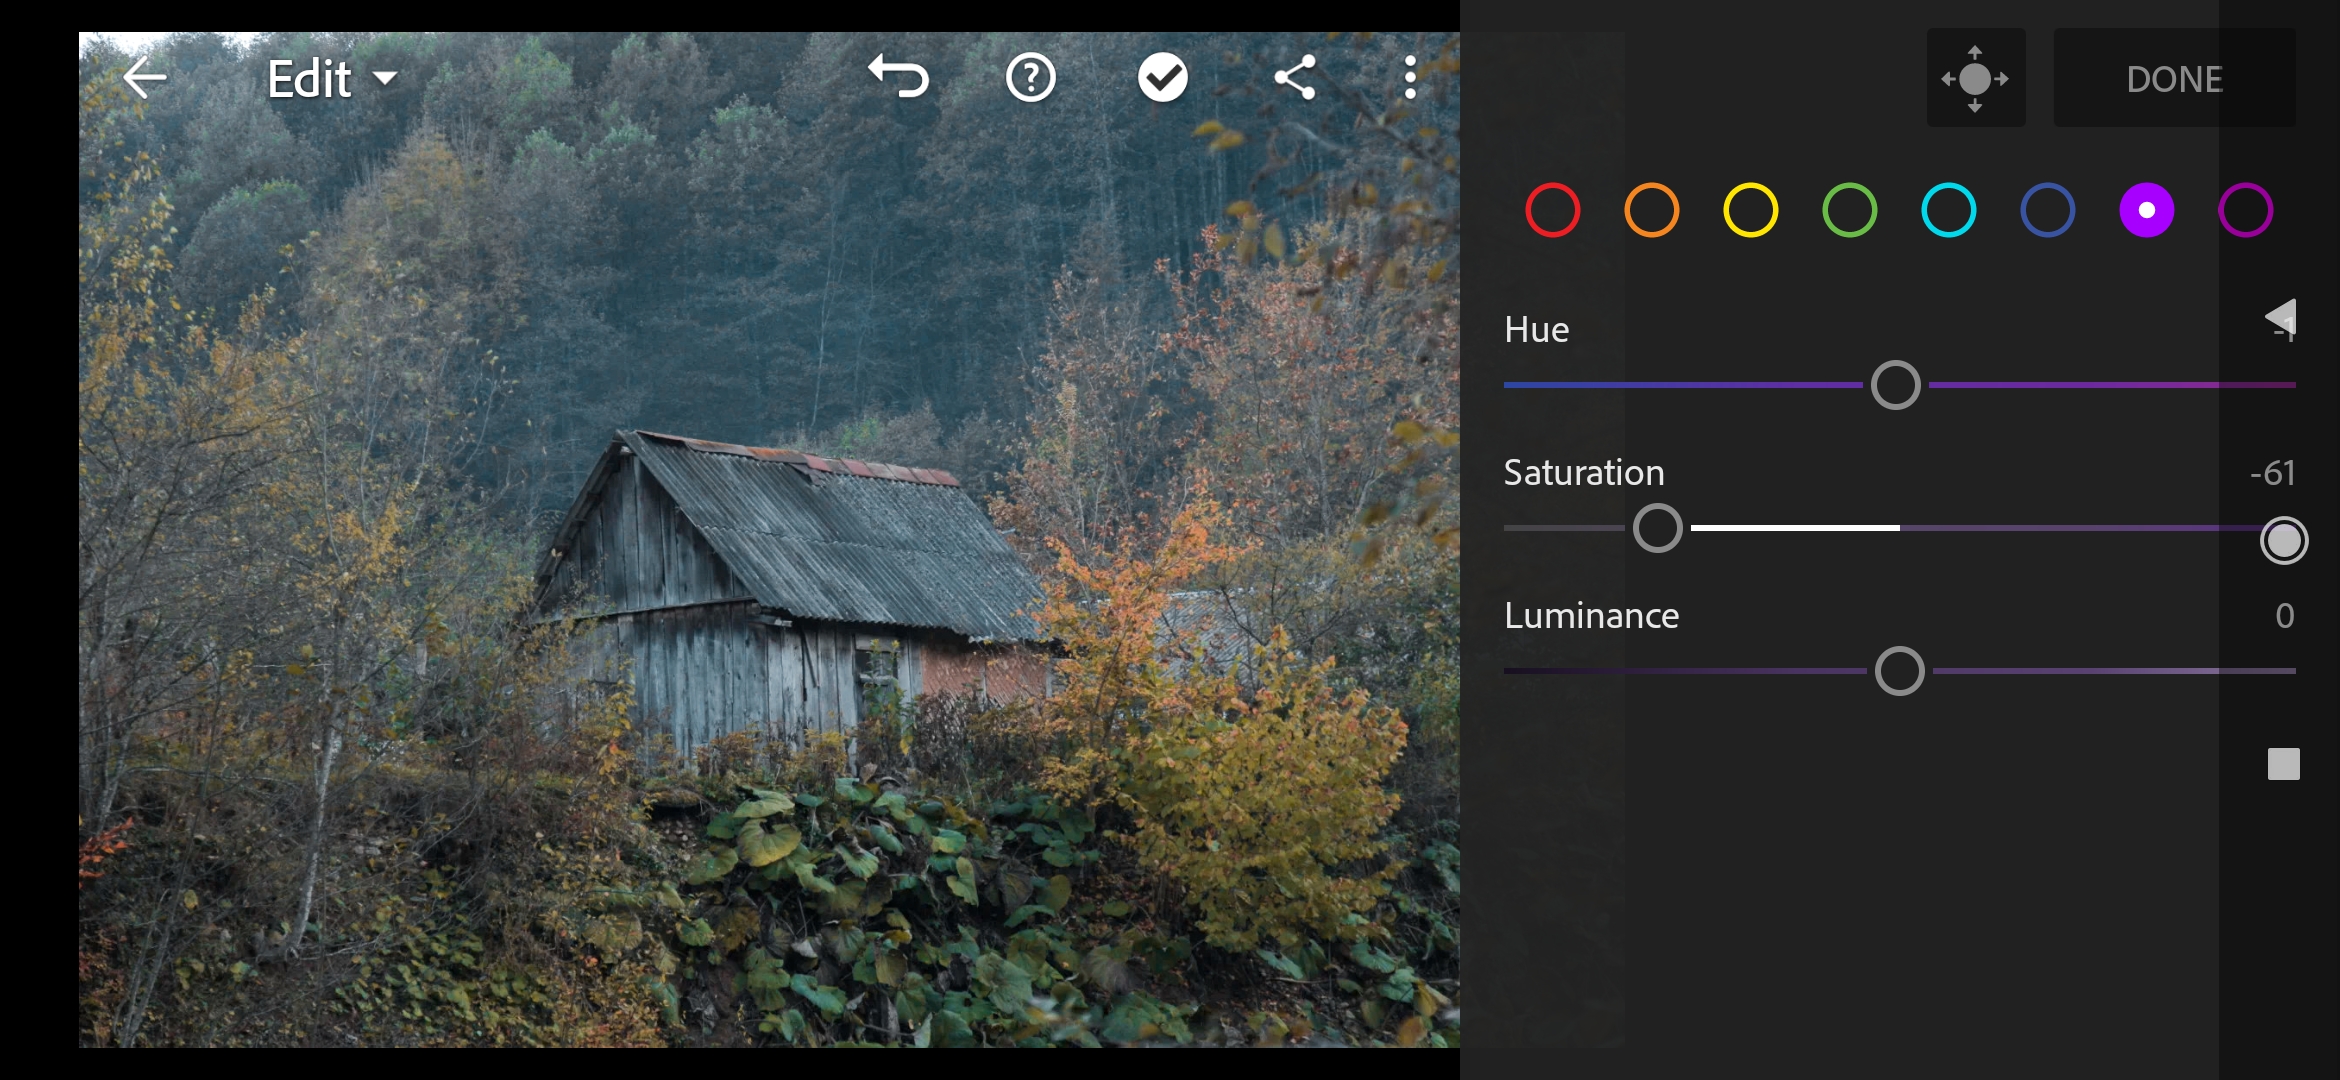
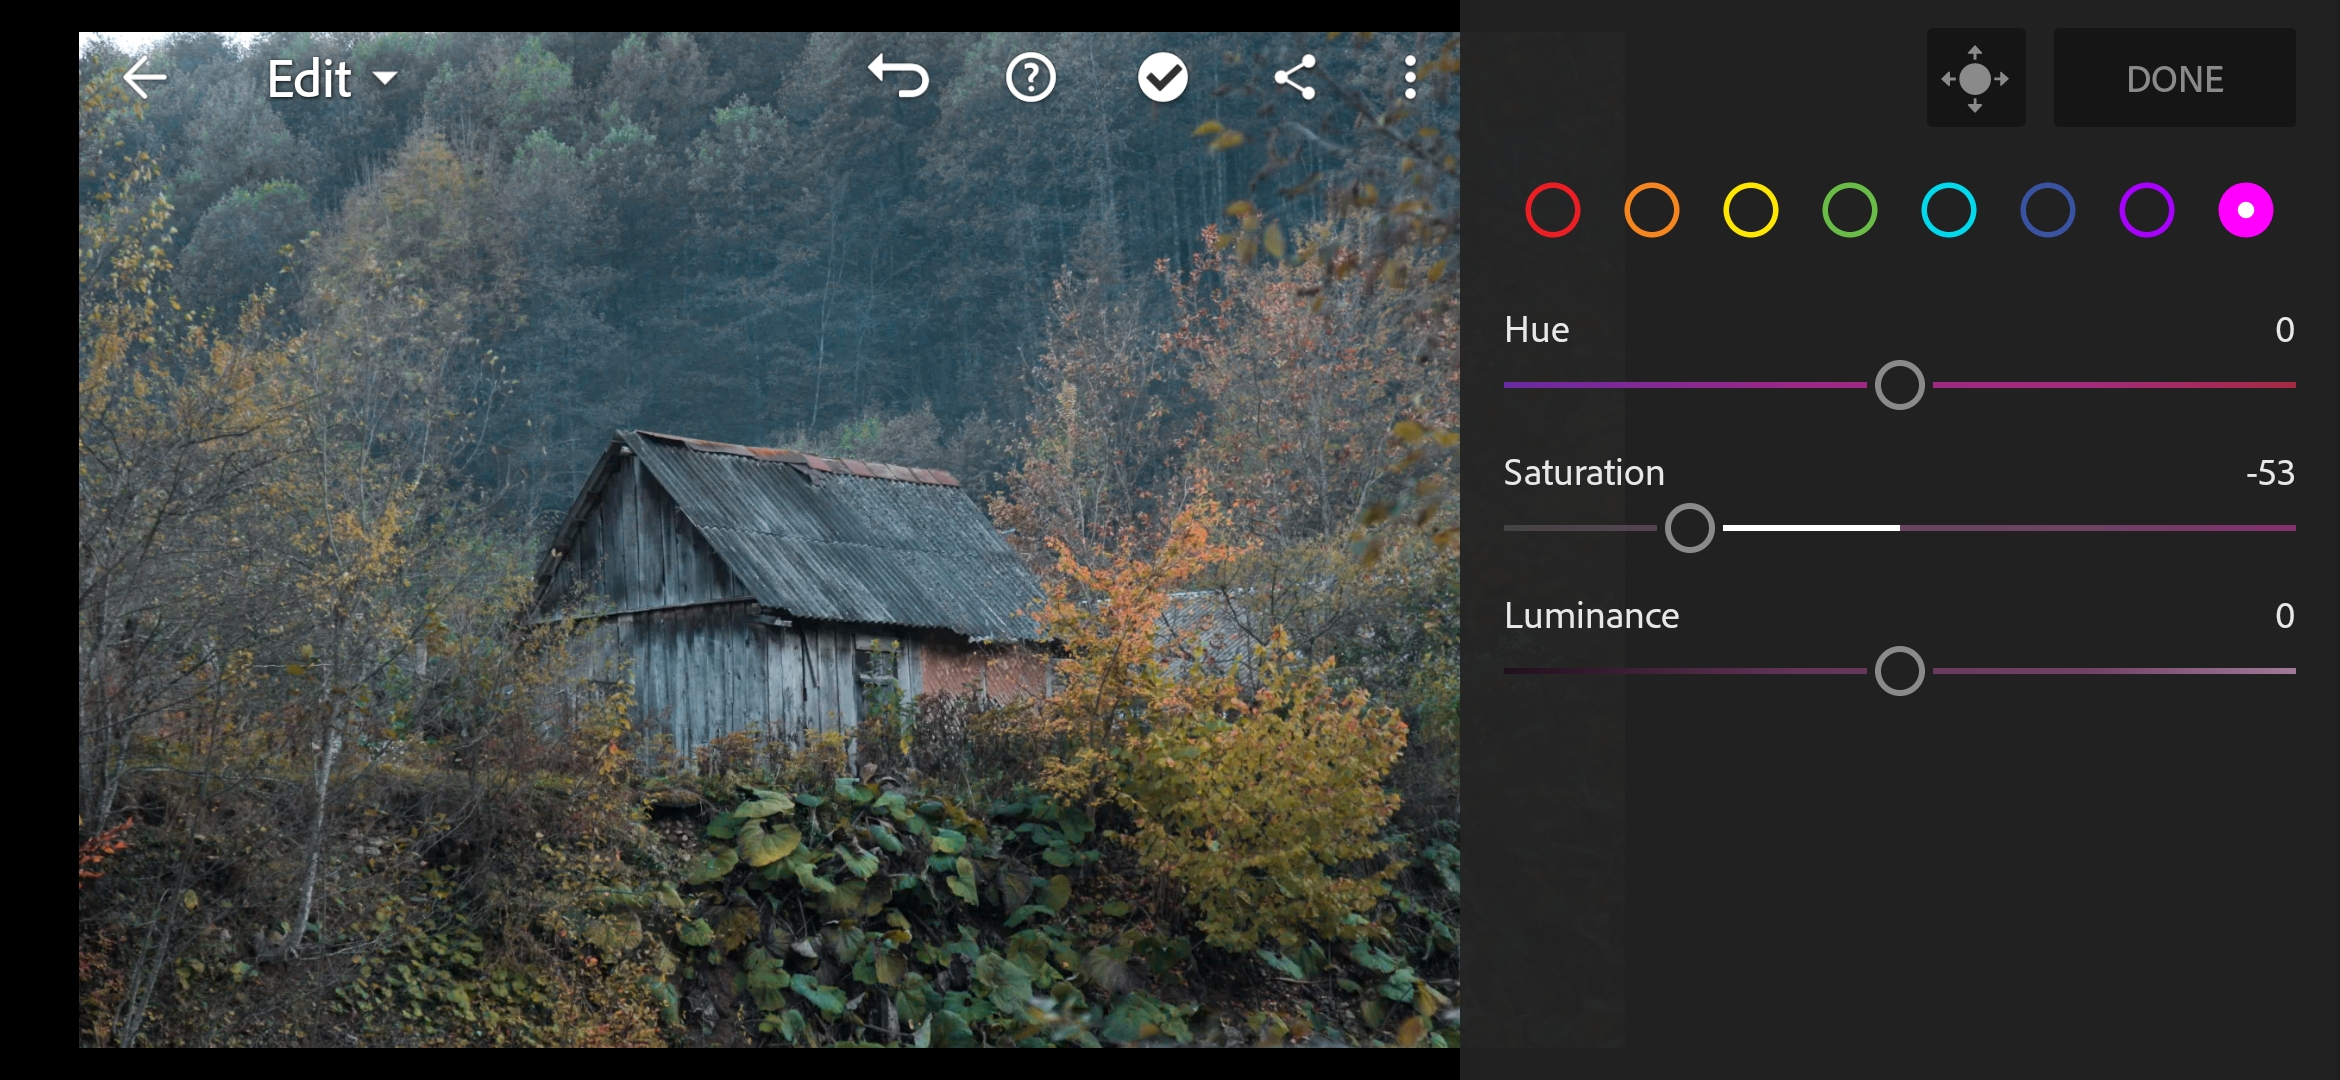
All color modifications are individual, and everything largely comes down to one simple rule – you need to remove extra colors with saturation. These colors make the shot dirtier. Also, with shade, you can tweak the colors to look more pleasant.
And now, the best part!
We’ll use masks. They allow us to make a certain part of the photo darker instead of modifying the whole picture, among other things. Alternatively, you can make the center of the shot lighter. There are radial and linear masks, as well as masks that you can set manually using brushes.
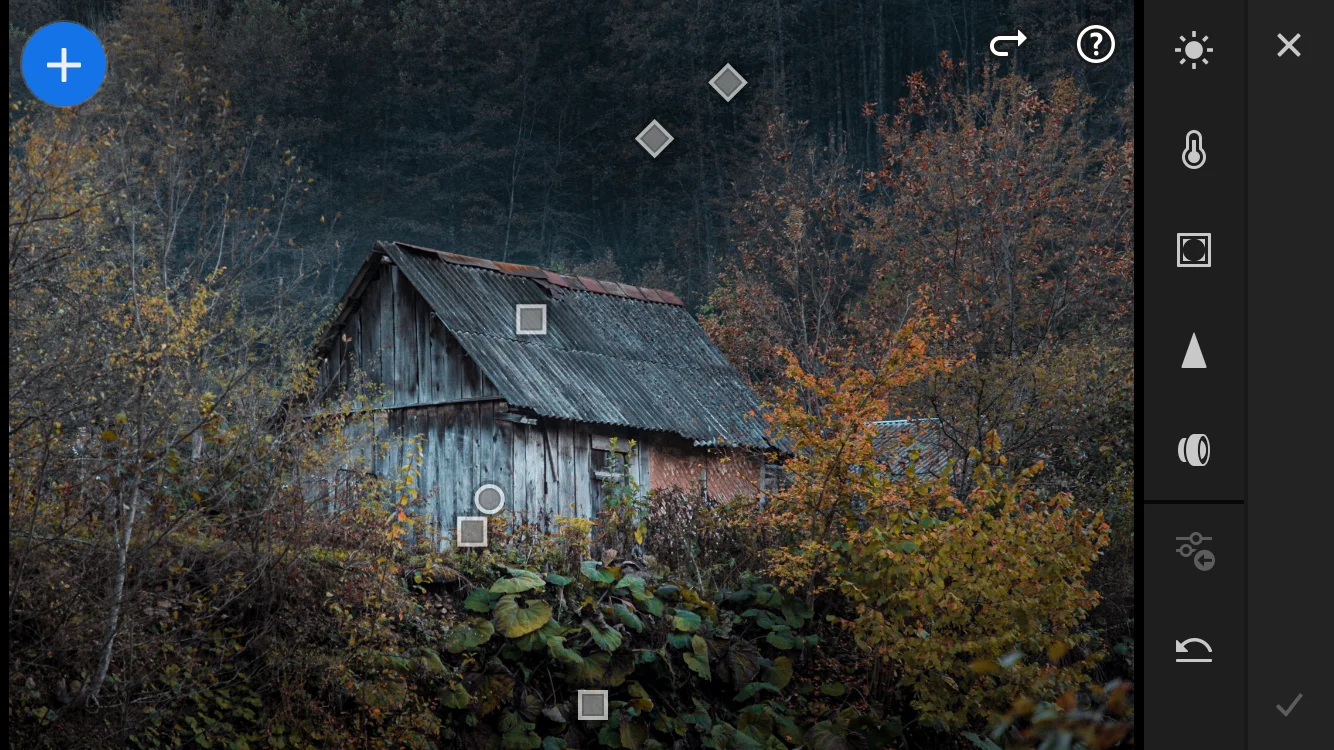
You can see that I used 6 different masks while editing the picture above. They show up as small circles and squares. The squares stand for linear masks and manually drawn masks, while circles are radial masks. Below, you can see precisely what the masks that I created manually look like. The red covers the area that will be shown. Everything that isn’t red won’t be affected. Go through the menu to see all the manual masks.
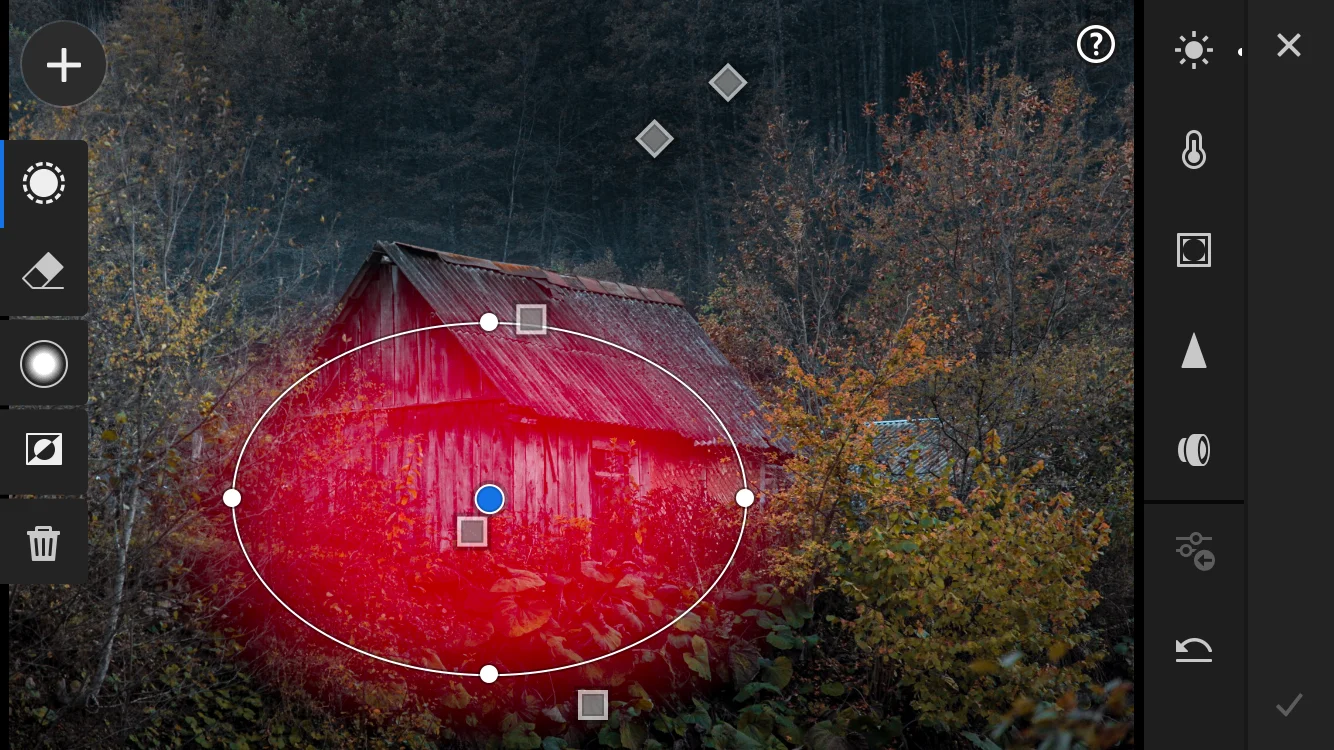
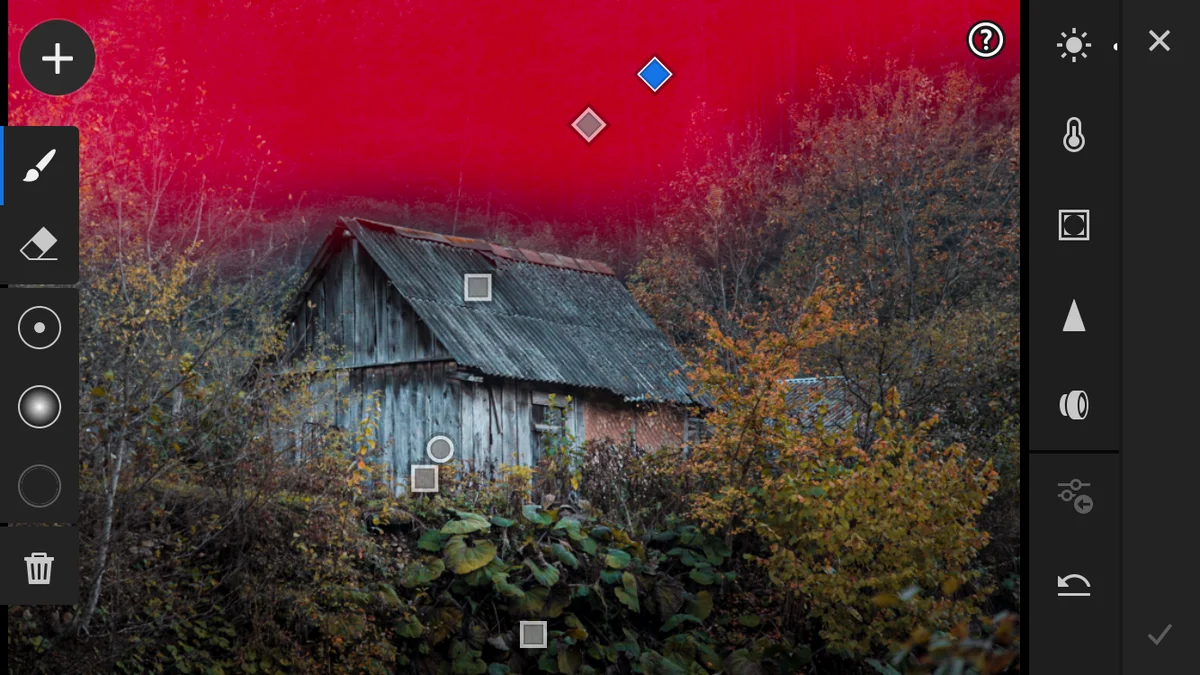
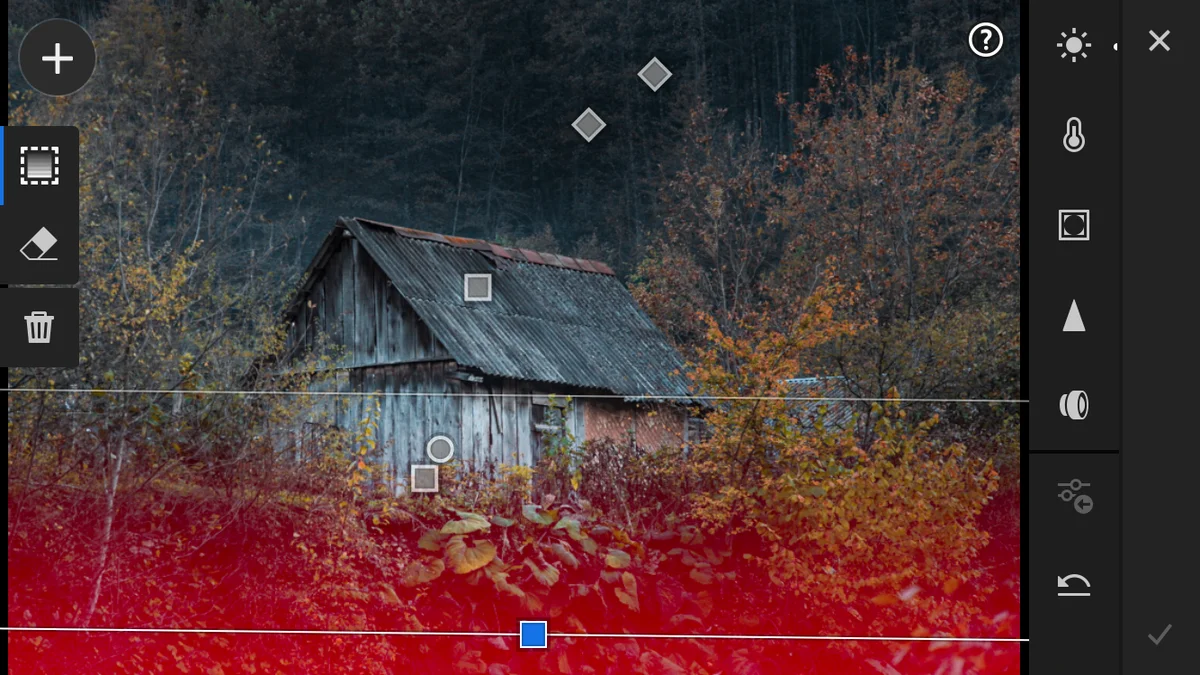
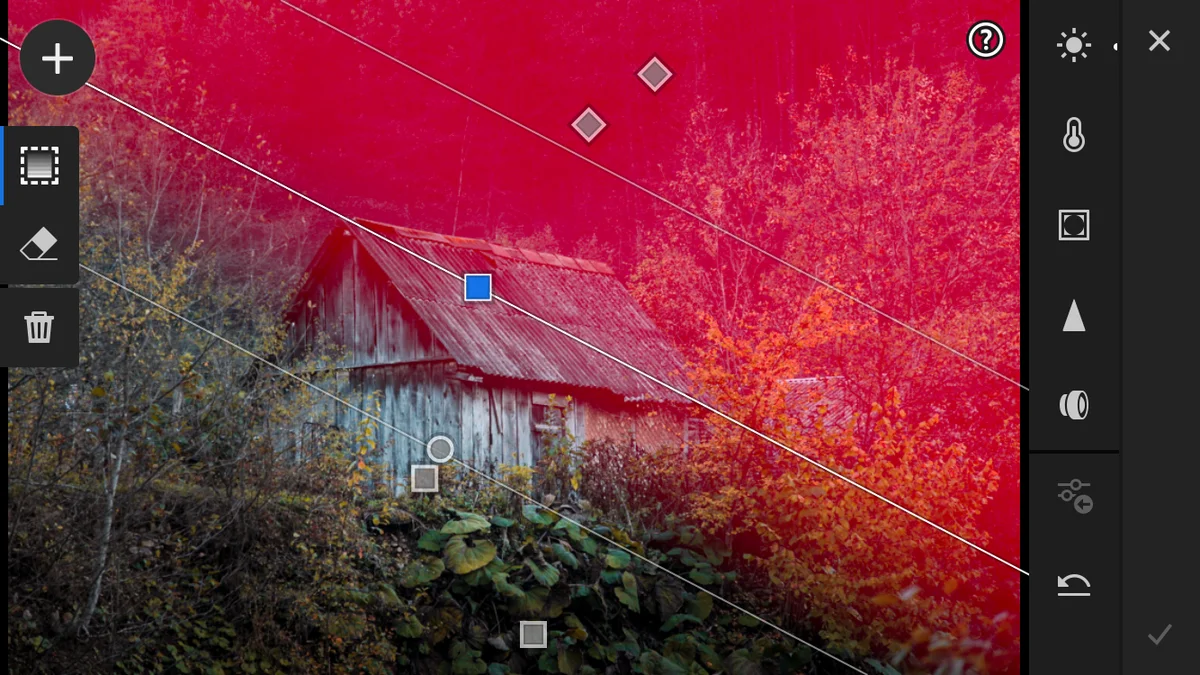
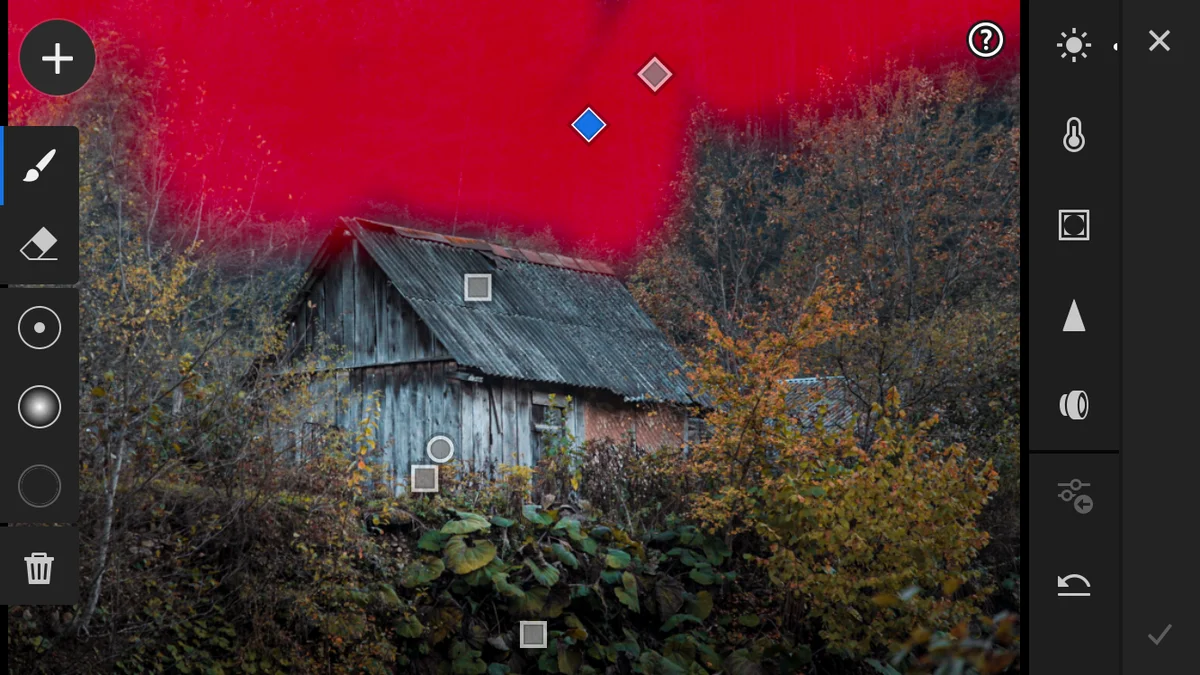
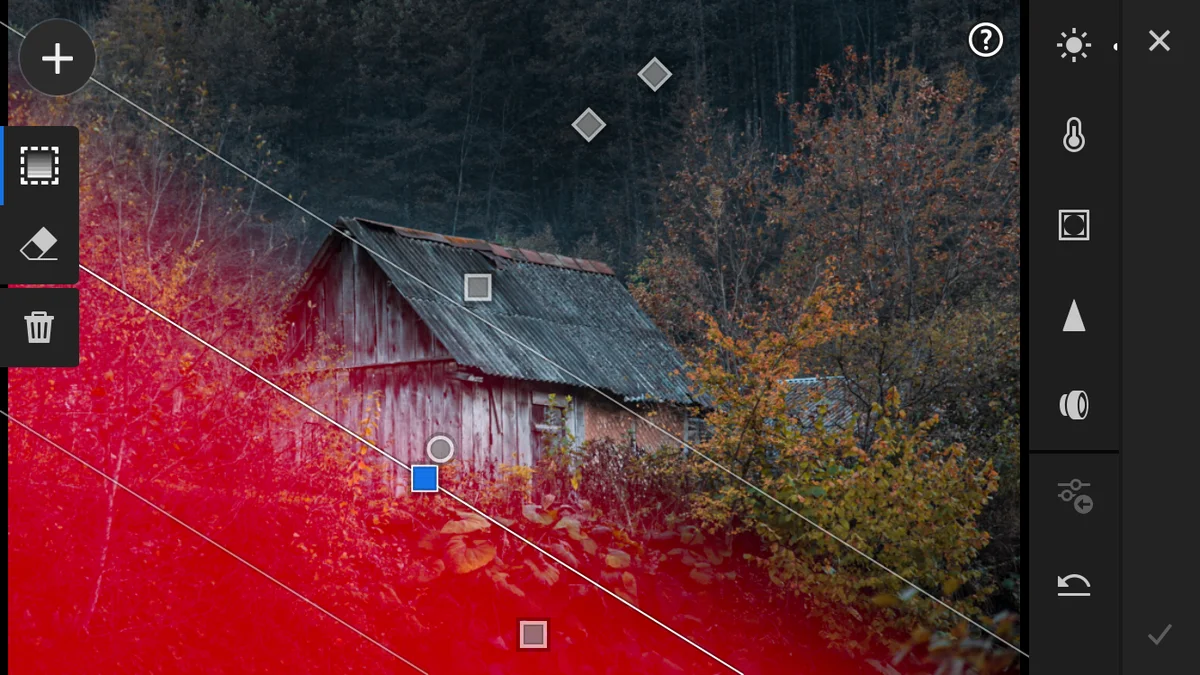
With a radial mask, I added more brightness to this layer to light up the center of the shot.
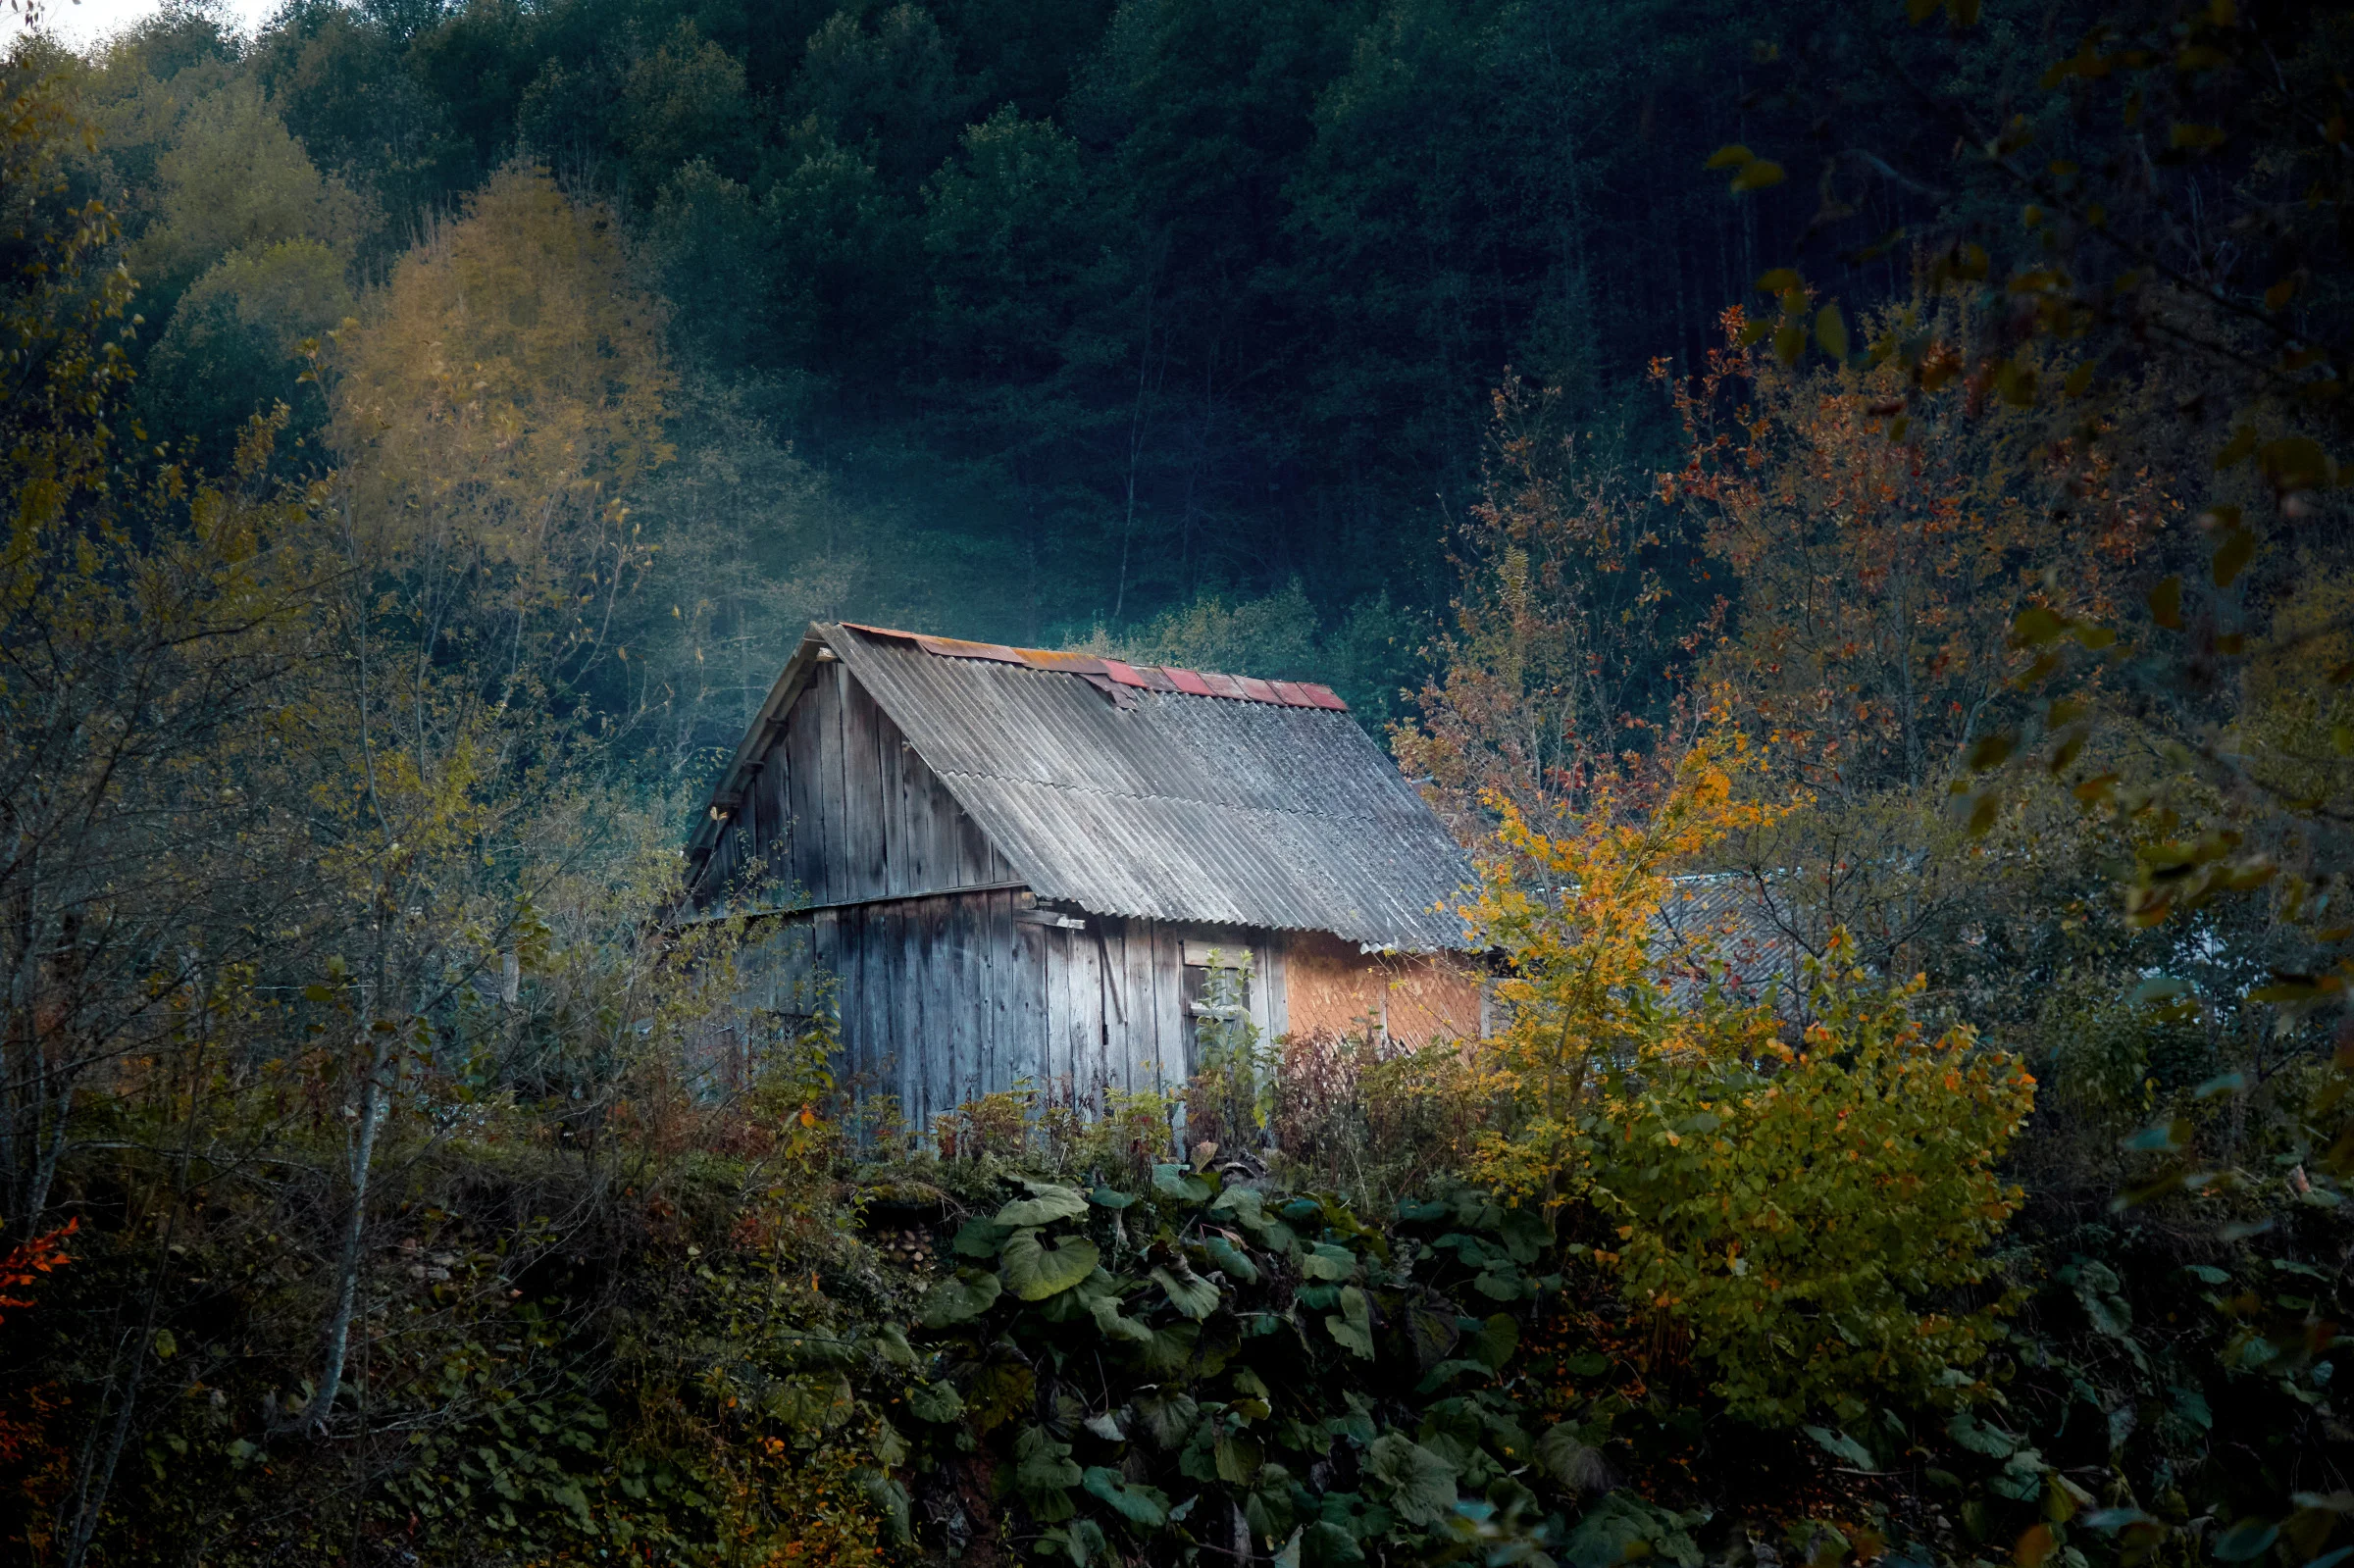
In the end, a combination of all these masks and previous modifications produced this result:
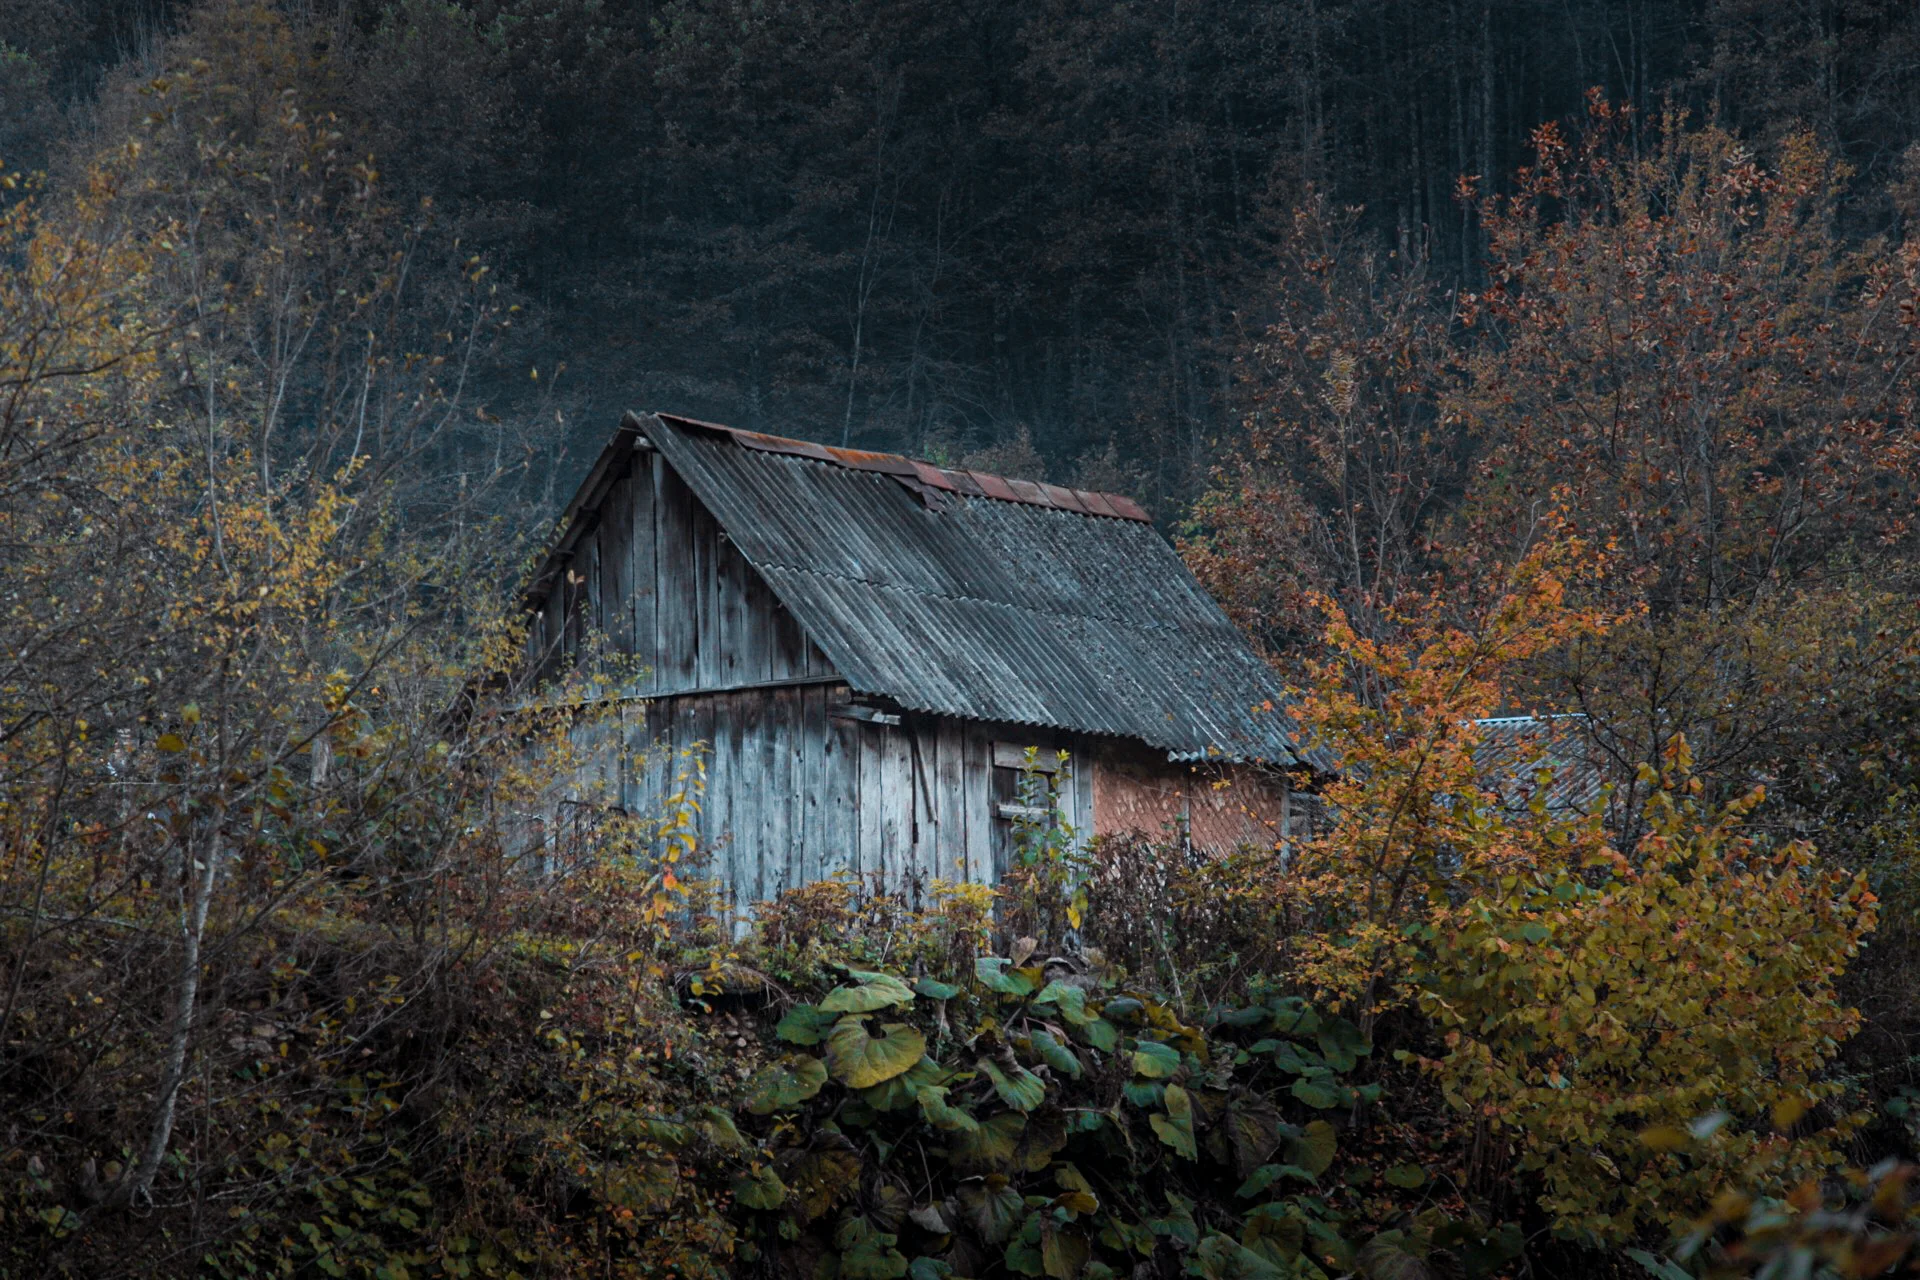
This shot has not naturally become a masterpiece after editing, for several reasons that you can’t fix by editing. Still, it is much better compared to the original! Editing this picture took me no more than 5 minutes. I only used Lightroom Mobile to alter it, but any other software can do the same trick with no problem.
Remember the important rule – the center of the shot needs to stand out against the rest of the picture. You can emphasize it in many different ways – using colors or brightness. This will add some volume to your picture. Usually, our eyes first capture the very brightest object in the picture, and only then examine the photo in detail.
Later, I edited the same photo in a different way using the Capture One software on my PC. However, I still used the same principles and approaches that I described in the article.
At first, such editing may seem complex and lengthy. However, that is not true, trust my experience on that. Such an approach requires practice and, most likely, you won’t be able to achieve anything particularly impressive at first. With every attempt, though, the results will keep improving! Good luck!