How to decorate a wall with photos
Photos as wall decorations are a classic wall space design idea. A composition that includes several photographs is the result of experiments in combining individual elements into a logically complete structure that is positioned on the wall. The seeming unpretentiousness and ease in implementing your idea is actually an illusion. Once realized, an idea may not fully correspond to the original concept or even look entirely different, making the wall look tastelessly decorated and cluttered. How can you achieve your goals and turn a simple set of photos into a spectacular and stylish creative design? Just follow our tips.
The dominant element in the color scheme of a room is the wall. Based on this fact, a composition created around the overall interior concept should correspond to the “3 + 1” formula. The "3" comprises the shape, size and genre of the image in relation to "1" - the interior where the resulting photographic composition will be exhibited.
Tip #1: Choose a wall
The first thing you should do to achieve the desired result is to select the right wall for the photo. The ideal option would be a wall where the photo composition can be observed both from afar and close-up, if desired.
Artwork height
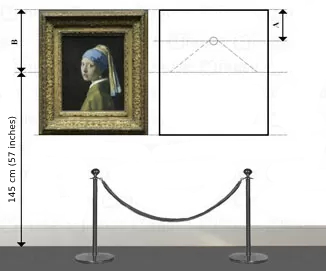
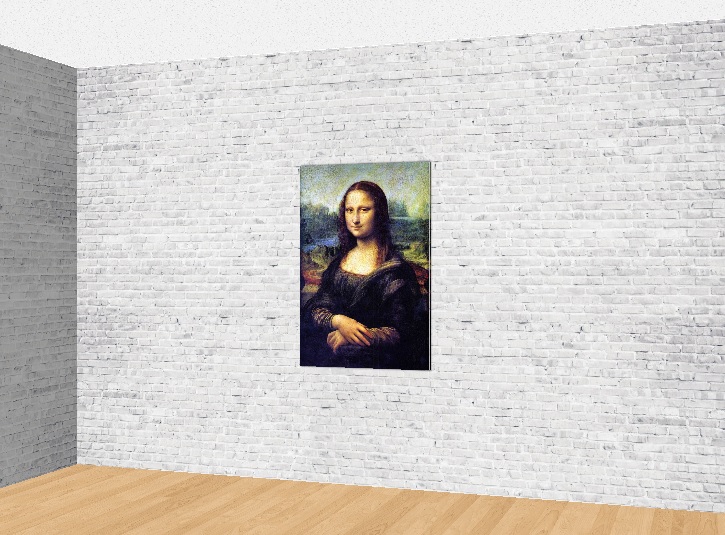
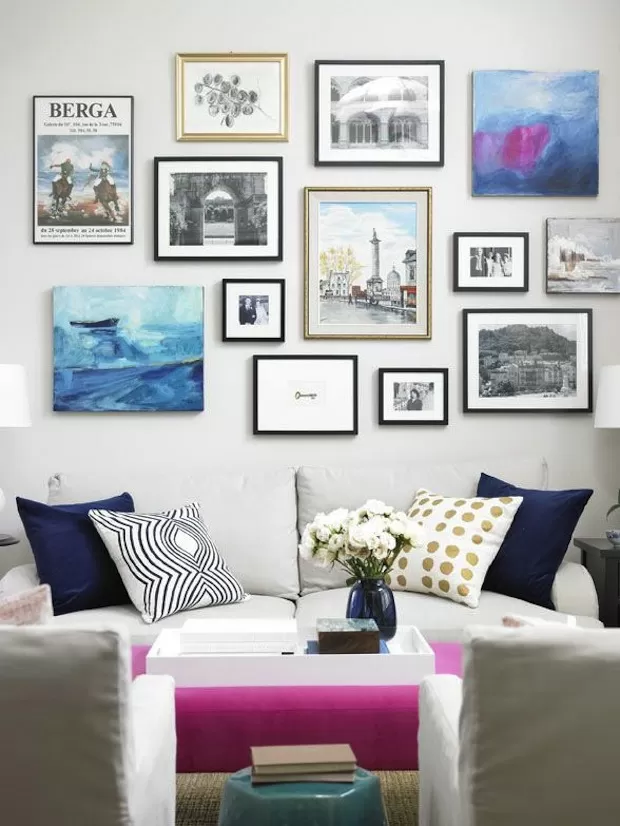
The best option for hanging artwork is the "museum" height - 145 cm (57 inches) from the floor to the center of the composition. One or several large photos are hung at this height, forming the basis for an integral plot. All this is done to make sure your creation is located at the eye level of a standing person.
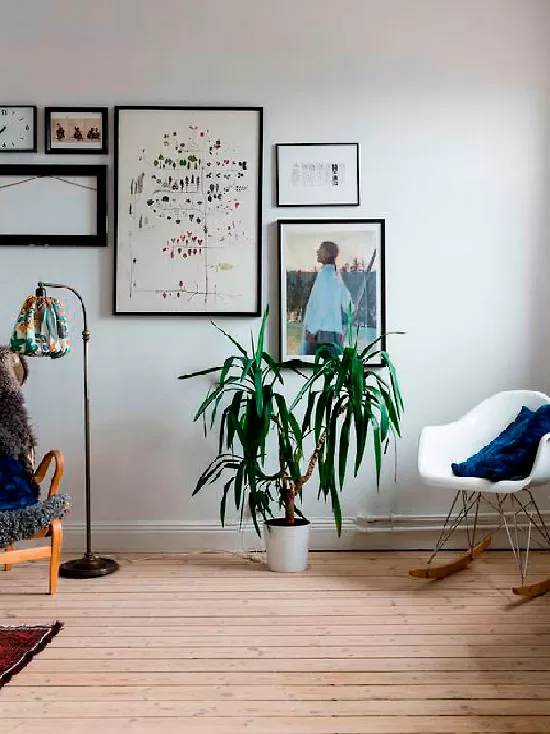
However, this rule is not mandatory, since everything depends on the specific interior. So, especially when hanging photos above a sofa, position them a little higher because furniture creates an additional horizontal line, slightly shifting the wall proportions.
Distance to artwork
As noted above, a creative composition requires a good overview. The ideal distance to a work of art is calculated using the formula "2x", where "x" is the size of the created collage. If it is 1 meter wide, then 2 meters is the optimal distance to the wall with the artwork.
Photo collage width
Particular attention should be paid to the location of the artwork and nearby pieces of furniture. Thus, a composition placed above a table, bed, sofa or console can take up between ⅔ of their width to full width with a partial indent allowed.
For an empty wall, the width of the image should not exceed ⅓ of the wall to avoid a cluttered look. So, for a 3-meter wall, a 90-120 cm photo collage will be optimal, and for a 4-meter wall, the width of the composition should not exceed 180 cm.
Photo collage height
If a photo composition is rectangular, you should correctly calculate its height. After you decide on the width of the photo collage, you need to calculate the corresponding “ideal” height. For instance, for compositions with a width of 2 meters, the height should be 1.2 meters. If the room has high three-meter ceilings, photo collage parameters should be calculated in the reverse order.
Tip #2: Calculate the "anatomical" proportions of the photo collage in detail
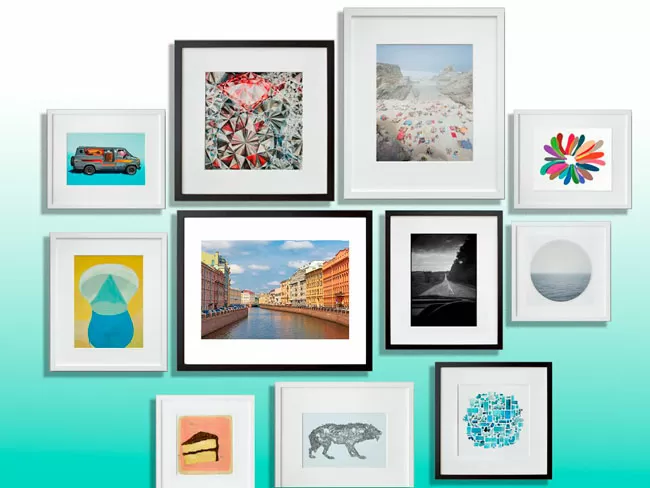
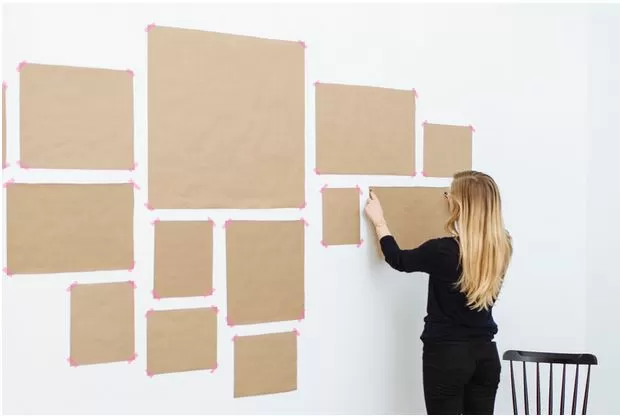
It is very simple to create a spectacular interior composition. Make clippings from newspapers or colored paper and put them up on the wall in random order. Here are some ready-made design templates to simplify this task:
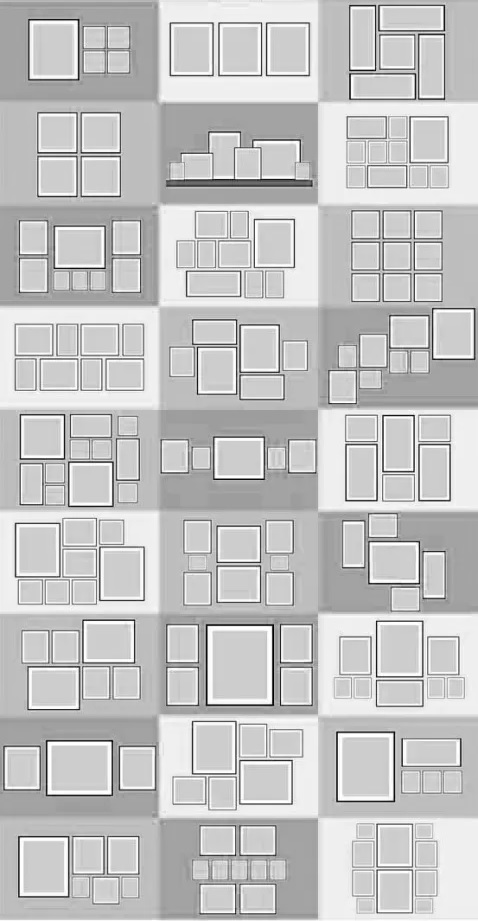
Those who are firmly against "template thinking" can create their own version based on the following rules:
- Form a photo collage around your favorite picture;
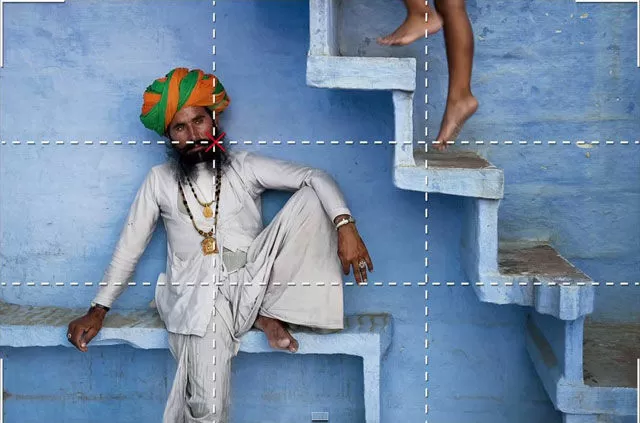
- Create a photographic product with a single vertical or horizontal axis;
- Use the rules of harmony and balance as the basis for your creative experiments. When integrating an oval frame in a square collage, be sure to place a similar oval in a symmetric position;
- Don’t combine photos of more than 3 shapes or sizes;
- Place visually or "dimensionally" similar collage elements as close to each other as possible.
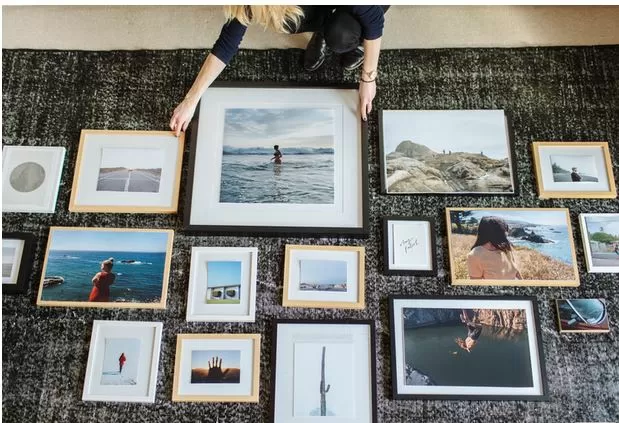
To avoid confusion, do the following:
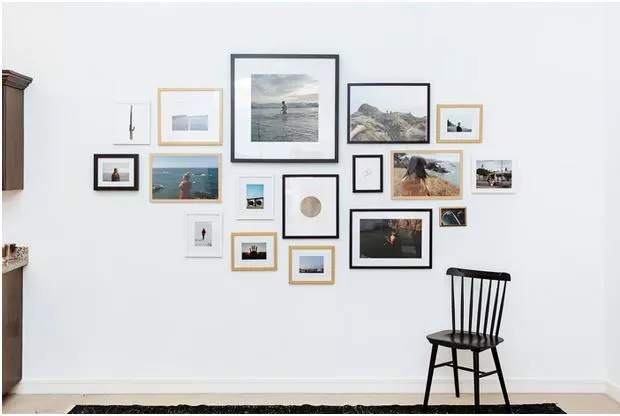
Tip #3: Plan the color scheme in advance
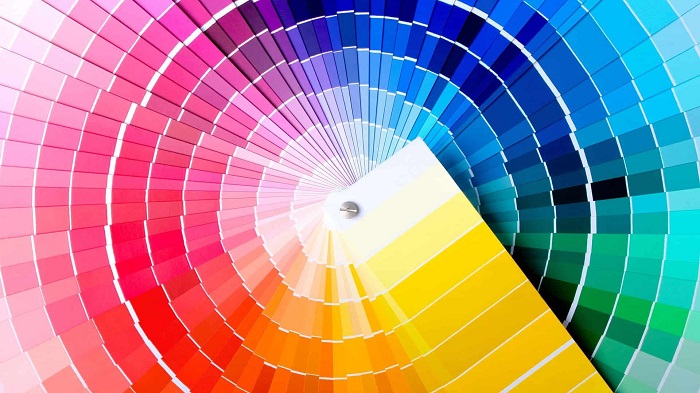
The main rule for exhibiting a spectacular photo collage is its harmonious integration into the interior space. An artwork in a single-color scheme with a common background should organically fit into the room and won’t look tasteless. If for some reason you’re craving to use photos that absolutely don’t fit into the interior color scheme, try to create a balance through a thoughtful selection of passe-partout or by placing "universal" accessories in the room (ones that are in harmony with both the photo and the overall design concept).
Tip #4: Think clearly about the overall theme of your composition
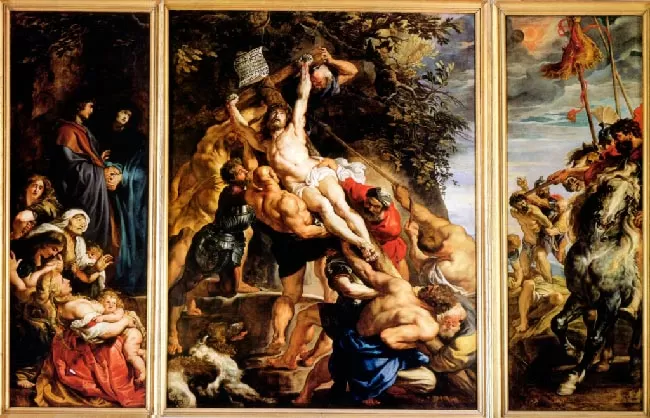
A wide variety of ideas can form the basis for a modern photo collage - a combination of selected family photographs and portraits on canvas, thematic series of works by famous photographers, reproductions of famous paintings, and natural landscapes. Family photos and portraits are suitable for practically any interior. Other concepts should be based on the style of the room. The main thing is to create a bright accent (i.e., a large photo in the center), with other elements diverging from it like rays. It will look even more intriguing if you replace some of them with mirrors.
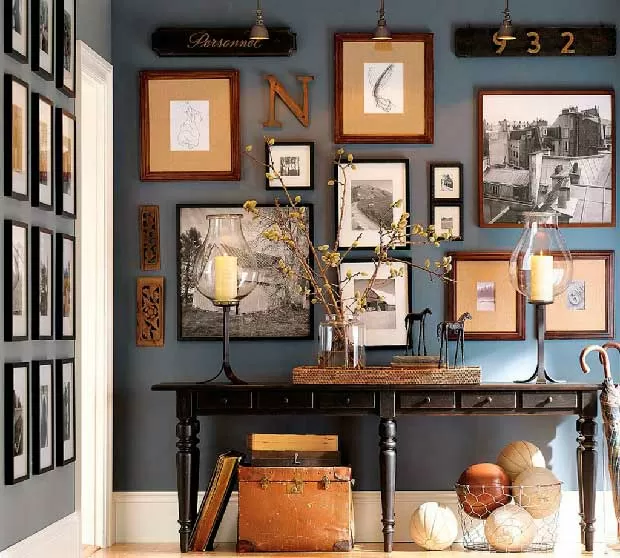
Tip #5: Choose frames thoughtfully
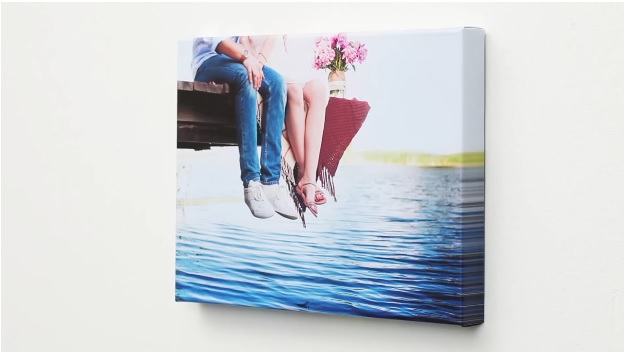
To begin with, please note that photos on canvas do not really need to be framed. Use them if you need to create a smooth transition from the artwork to the room interior. In particular, frameless photo collages work well in hi-tech interiors. However, if you do decide to frame your photos, please carefully consider how the photo will look framed. A creative composition from similar images lends itself well to framing experiments - frames for its individual elements can be exceptionally diverse.
If the photos are similar, the choice of frames should be more reserved. Grouping elements according to a certain attribute requires a conservative approach, and black, white or silver frames are a universal choice that will enhance any photo collage.
Tip #6: Mix and match
An original solution is to create a photo collage of children’s photos in multi-colored frames. For an even more special effect, mix up the photos with framed children’s drawings.
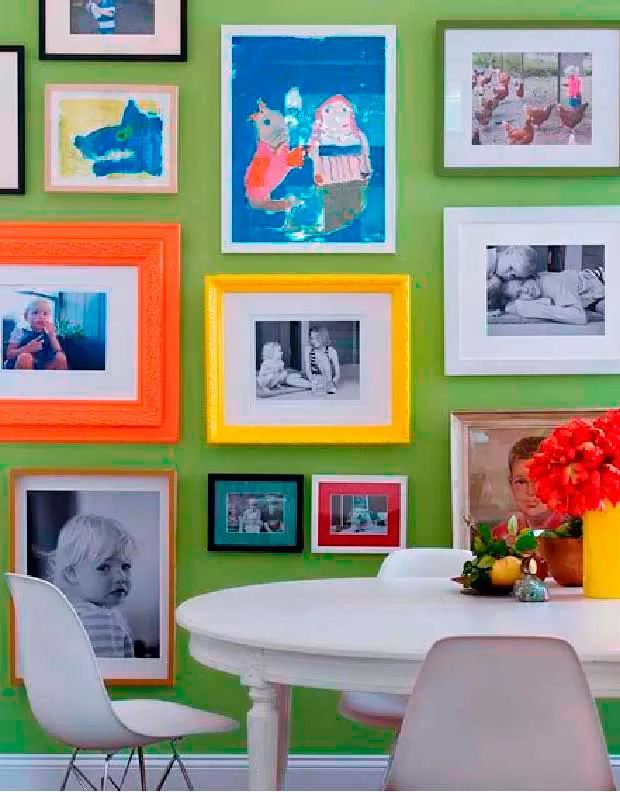
A collage centered around a mirror will look striking and unusual
Tip #7: Consider the room specifics
Do you have a multi-story country house where the whole family likes to gather on weekends or summer days? Position an original photo selection along the stairs! Your favorite photos will also look impressive and stylish on the mantelpiece. A Velcro creative composition is an ideal way to furnish a rental home – it will give the apartment a touch of individuality and personal expression.
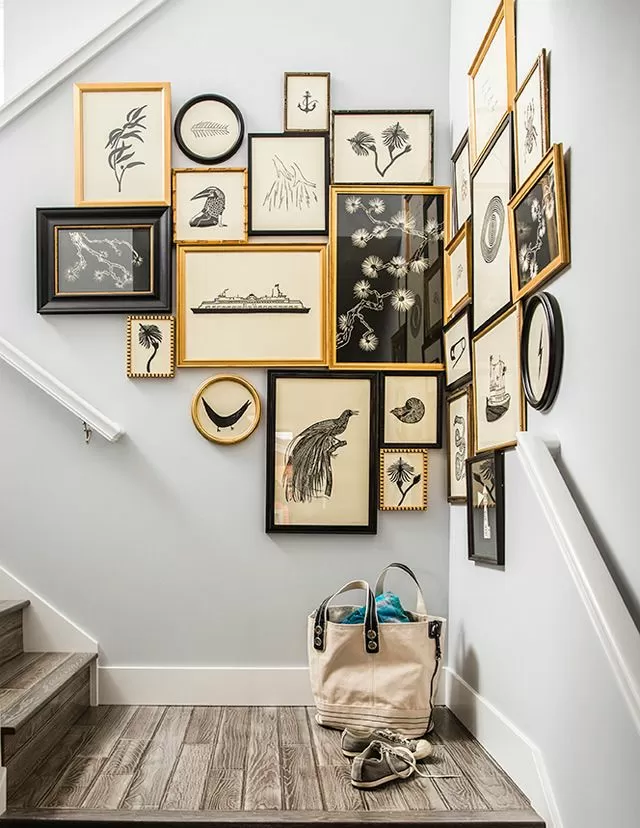
Tip #8: Don't follow tips
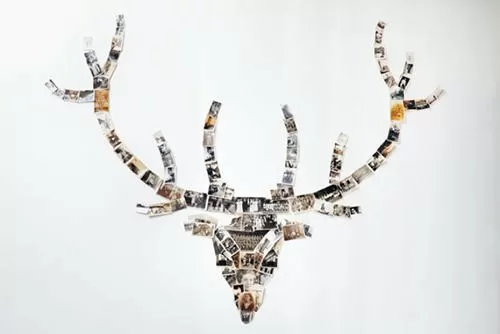
An innate sense of style and delicate taste are the best advisers in creating an original stylish composition. After all, you can pioneer a striking new interior solution. Like an English designer who came up with the idea of creating a family photo collage shaped as the family’s coat of arms.