5 camera settings mistakes typical for beginners
Photography students often write to me about their trouble with camera settings, because at the initial learning stage, these settings can raise a lot of questions. There are many options, and it’s impossible to solve all the problems at once, but there are basic things that everyone should know.
RAW or JPG format? What to choose?
There is always a lot of controversy around this topic, and I won’t speculate on which one is better. I'll just give you a few examples.
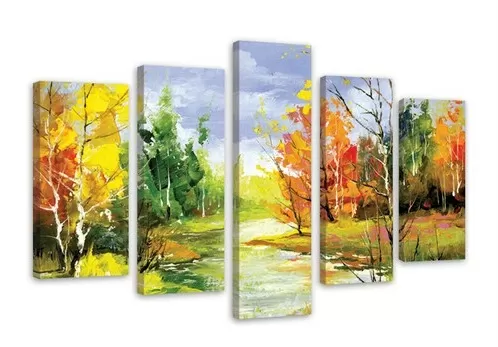
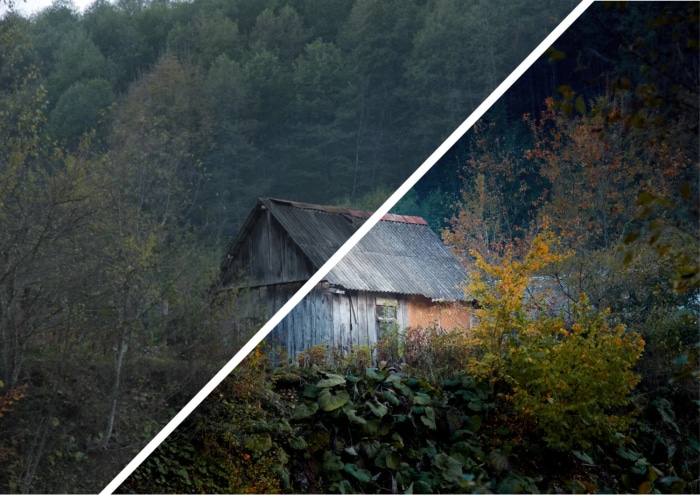
RAW is a format that lends itself well to editing. It easily stretches the shadow and highlight areas and allows to adjust colors and white balance more precisely.
None of this is true for the JPG format. But if you don’t need any of the above features, then you don’t need the RAW format either. I personally use only JPG for my vacation photos, so as not to waste time on post-editing. And all my work is done in the RAW format.
Tip: choose the format that suits you best. Study different options closely and use them in your work, compare them and decide what’s best for your purposes. Most cameras allow you to save two different photo formats at the same time. Take a photo like that and compare how JPG and RAW behave in your editing program.
Always using the same aperture
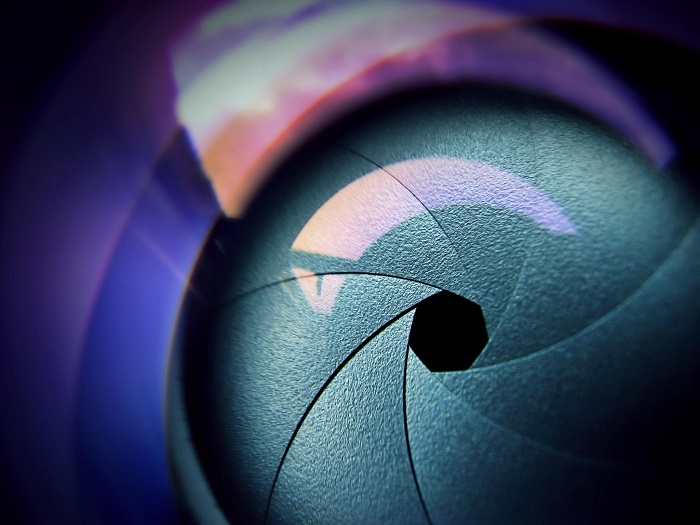
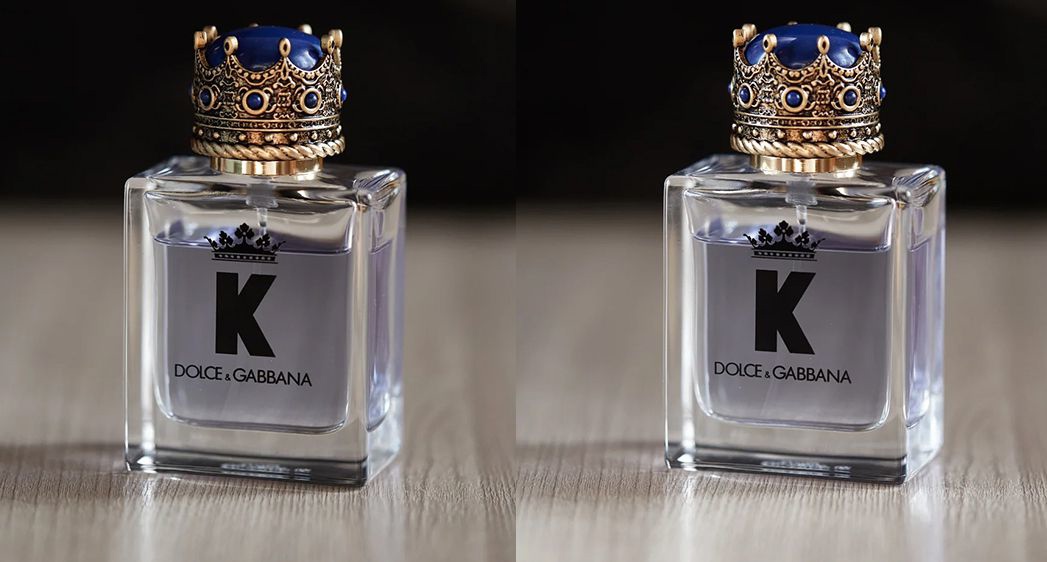
A very common mistake beginners make is always shooting with the same aperture. Most often, it’s an aperture that’s open almost to the max. An open aperture works well for portraits with a blurred background, but it’s better to shoot landscapes or groups of people with a covered aperture, so that more objects come into focus.
In general, if you are not very knowledgeable about the impact of aperture, you should read up on it or watch videos. This is photography 101, and you need to be clear on the subject. I have a blog post on aperture, shutter speed and ISO. If you are a beginner, I suggest you read it.
Tip: Aperture greatly affects image appearance. Each lens behaves differently, so first of all, if you haven’t figured out what aperture is, then do it, and second - study your lens in more detail. Shoot the same subject with different aperture settings and compare the resulting shots.
ISO that’s too high
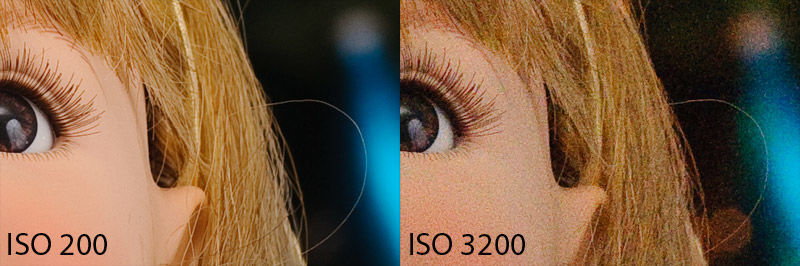
It’s hard for a novice photographer to keep so many different camera settings in mind, so very basic mistakes are the most common. One of them is the use of unreasonably high ISO.
A simple example. Yesterday you were shooting at sunset and set the ISO to high (let’s say 3200). Today you are shooting on a cloudy day. You turn on the camera, take a test shot, and it comes out very bright. Instead of paying attention to the ISO, you just increase the shutter speed. Now the pictures have normal exposure, but there’s too much noise. All because of plain carelessness.
Tip: Always pay attention to all three main shooting parameters, not just one of them. We need a connection between ISO, shutter speed and aperture - the right balance between them is the key to a good shot.
Incorrect exposure
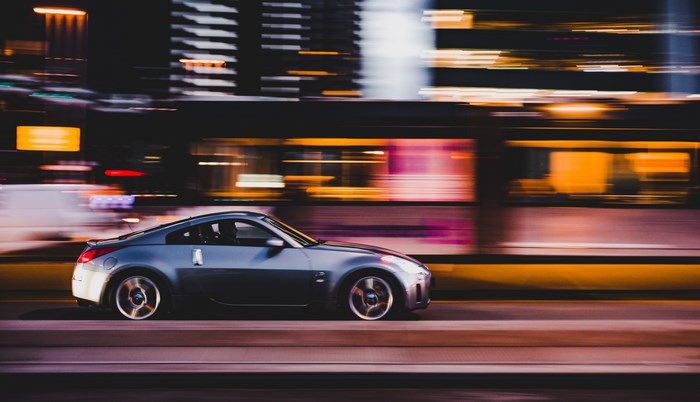
One of the most common camera settings mistakes is the wrong shutter speed. As a result, photos may be blurry.
Correct shutter speed depends on many parameters, including the focal length of the lens. The longer it is, the harder it will be to take a photo without blurring.
Tip: The slower the shutter speed, the greater the chance of blurring when you shoot from your hands. For example, at a shutter speed of 1/125 you can easily take a photo with a focal length of 50mm, but at 200mm the chance of blurring will be much higher. People and action scenes are best shot at faster shutter speeds - 1/250 or faster. If you need to shoot at slow shutter speeds, use a tripod.
Incorrect white balance
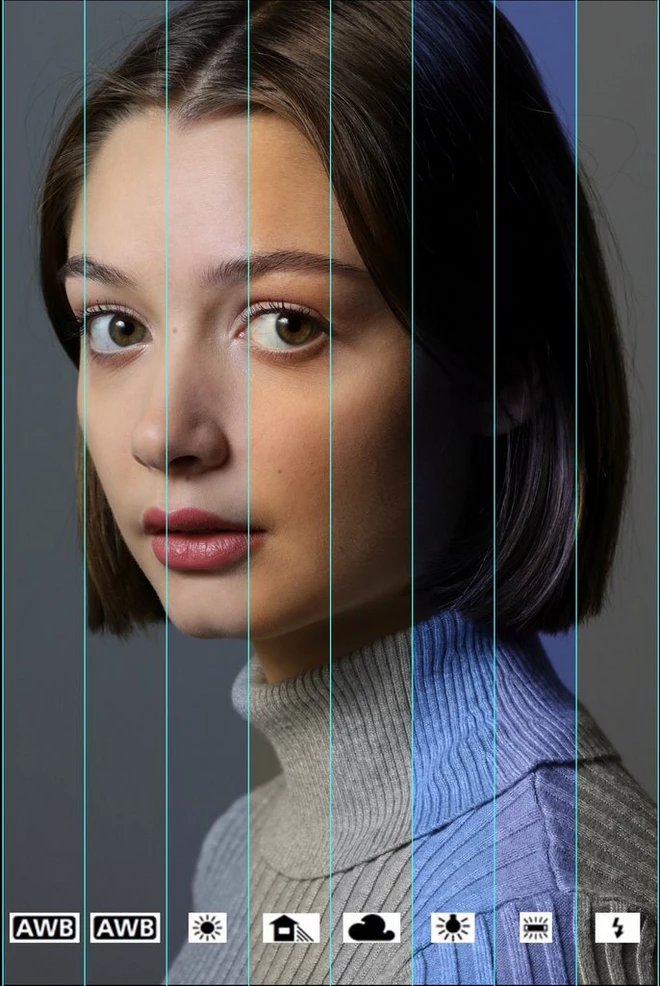 Source: White Balance: definition and settings
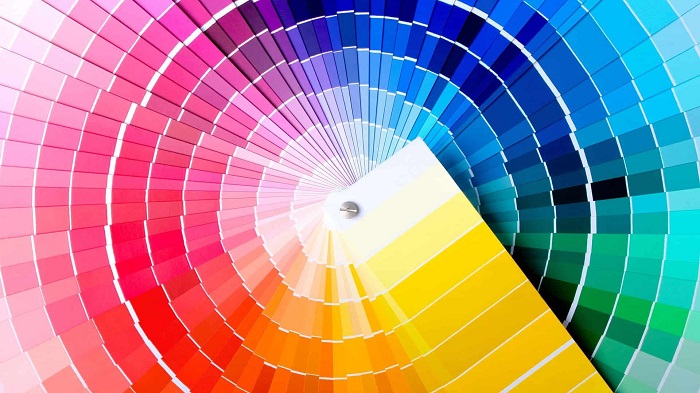
It is best to set the correct white balance (WB) before shooting even if you shoot in RAW. But if you forget, even botched WB can be corrected during editing. However, if you are shooting in JPG, it’s important to set the correct white balance prior to shooting, because RAW and JPG behave differently during editing, and color issues are possible with JPG. The more busted the WB, the more color distortions will manifest after WB adjustment.
Of course, WB can be reasonably adjusted even in the JPG format, but it will take more time, and if we’re talking about several hundred photos, then it will take a lot more time.
Tip: Make it a habit to check your WB settings before shooting, especially if the location, shooting conditions, or sun position changes. Plus, you need to visually control the images on the camera screen. You won’t be able to determine whether the WB is correct for sure, but you’ll see major blunders and will be able to fix them in real time.